
Diagnosing and Replacing Worn Bushings: The Cure for Mystery Creaks and Clunks on High-Mileage Vehicles
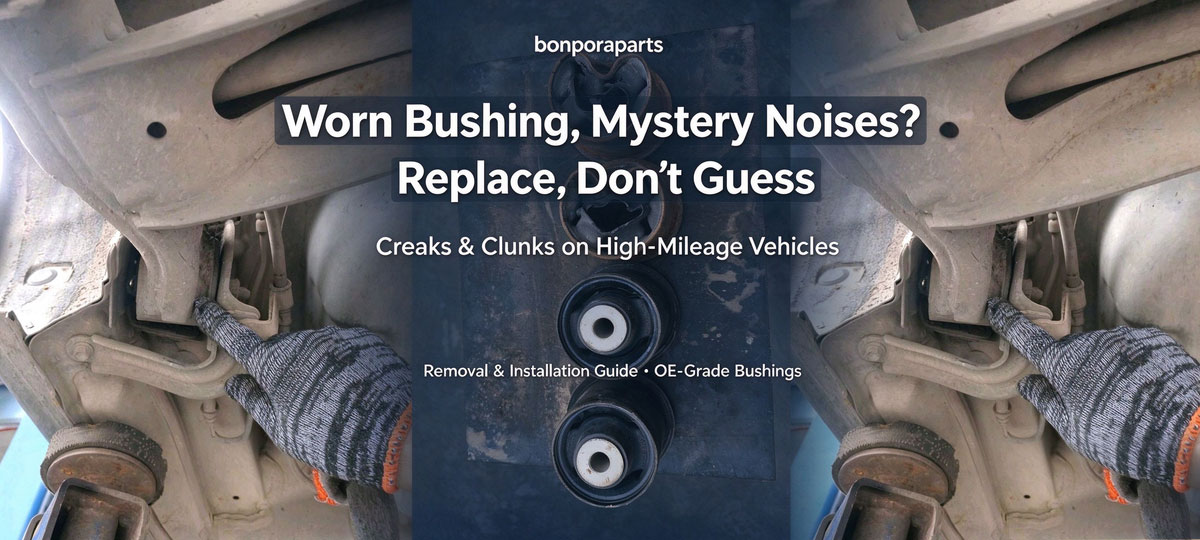
As a vehicle ages, the first sign that something is wearing out underneath is usually a noise — a creak as you cross a bump, a clunk on rough pavement, or a hollow knock when you steer or brake. In the great majority of cases the culprit is a rubber bushing that has hardened, cracked or torn at a chassis connection point. This article explains why those noises appear, how to confirm the cause, and how to remove and install new bushings correctly so the fix lasts.
1. Why High-Mileage Vehicles Develop Mystery Noises
Every suspension and steering joint is connected through a bushing — a rubber or polyurethane sleeve that isolates vibration, allows controlled movement and keeps metal parts from grinding against each other. Rubber is a consumable. After years of heat, salt, weather and repeated load, it hardens, then cracks, then tears. Once the bushing loses its integrity, the metal sleeves it separates begin to move against each other, and that movement is what you hear as creaking and clunking. Because the noise only appears under load and speed, it is easy to misattribute to the body, shocks or brakes when the real fault is a cracked bushing in the lower control arms, stabilizer links or sway-bar mounts.
2. Symptoms and Diagnosis
Before replacing anything, confirm the bushing is the source. Typical symptoms of worn bushings include: a creak or groan over bumps and speed bumps; a clunk on rough pavement or when changing direction; vague steering or a wandering feel; uneven or premature tyre wear; and visible deterioration. To inspect, raise the vehicle safely on a lift or stands, then with a pry bar apply controlled load to the control arm, stabilizer link and sway-bar mount. Look for cracked, torn, hardened or delaminated rubber, for excessive play at the joint, and for metal-to-metal contact. If the rubber is cracked or the joint has visible free play, the bushing is due for replacement.
3. Tools You'll Need
A typical bushing replacement needs: a lift or strong jack stands; a wheel socket set and torque wrench; a bushing press or a C-frame press with correctly sized cups; a hammer and drift only where a press is not available (used with care); penetrating oil; silicone or dedicated bushing lubricant; and the correct new bushings for your application, sourced to OE geometry.
4. Removal Procedure
Work in this order, and consult your vehicle service manual for exact fastener locations and torque values for your model:
Step 1. Raise and secure the vehicle. Chock the rear wheels, raise the front (or the affected corner) on a lift or stands, and remove the wheel to access the suspension.
Step 2. Support the component. Before releasing the control arm or stabilizer link, place a jack under the arm or hub so nothing drops when the fasteners come out.
Step 3. Remove the retaining fasteners. Unbolt the stabilizer link from the sway bar and control arm, or unbolt the control arm from its chassis and steering-knuckle mounts, as applicable.
Step 4. Press out the old bushing. Use a bushing press with a cup sized to the shell so the rubber bushing is pressed cleanly from its bore without damaging the arm. Where no press is available, use a correctly sized drift and a few controlled hammer blows — do not pry or hack through the arm.
5. Installation Procedure
Step 1. Clean the bore. Remove rust, burrs and old rubber residue from the bore, and wipe it clean so the new bushing seats square.
Step 2. Lubricate the mating surfaces. Apply silicone or dedicated bushing lubricant to the new bushing's outer shell and the bore to ease pressing and prevent squeaks later.
Step 3. Align and press in the new bushing. Press the bushing squarely into the bore. For control-arm bushings, keep the arm's factory alignment angle — do not press a fixed-angle bushing into a twisted position, or it will bind and fail early.
Step 4. Reinstall the component. Fit the stabilizer link or control arm back into its mounts and start all fasteners by hand to keep the geometry aligned.
Step 5. Tighten to specification. Use a torque wrench and the service manual values, and for control-arm and lower-link bolts tighten to final torque with the suspension at normal ride height (wheels on the ground or the arm supported) so the bushing is not pre-loaded in a twisted position.
Step 6. Road-test. Lower the vehicle, re-check the fasteners, and take a short drive over bumps and turns. If the creak or clunk is gone, the diagnosis was correct.
6. When to Choose OE-Grade Bushings
The replacement bushing is only as good as its material and geometry. A bushing that is too soft or too hard changes NVH, alignment and handling; one with wrong dimensions binds or fails early. Bonpora supplies chassis and suspension bushings, stabilizer links and related parts designed to OE geometry, with controlled material and surface treatment, documented QC and stable batch-to-batch performance. Sourcing direct from the factory keeps cost competitive while the fit and durability stay reliable.
- Prev.:Bushing vs Mount: What Roles Do They Play In Suspension Tuning
- Next.:Heavy-Duty PU Bump Stop Kits for Off-Road & Desert Driving