sales@bonporaparts.com
0086-10-64988621
English
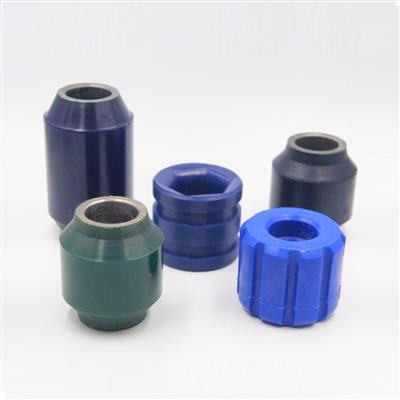
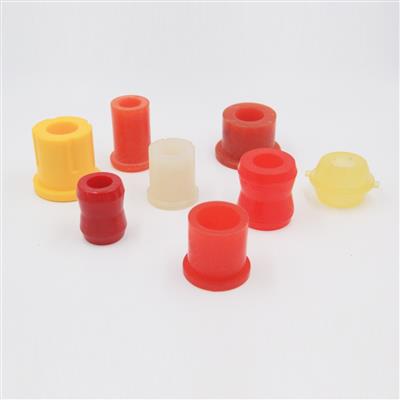
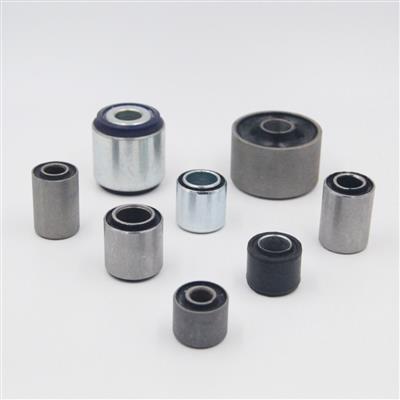
A bushing, also called a suspension bushing or control arm bushing, is installed at suspension control arms, stabilizer bar connection points, subframe to body attachment points and similar locations, positioned between two metal components. It provides an elastic connection that allows relative motion, whether articulation or torsion, while absorbing road impacts and limiting radial and axial displacement of the suspension kinematic pairs. The tubes are normally carbon steel or aluminium alloy, and the elastomer is natural rubber (NR) or polyurethane (PU).
Because the part is a wear item that works silently for years before it announces itself, most replacement decisions start with a noise complaint rather than with a part number. The sections below set out how to read that complaint, confirm the diagnosis on the bench and decide what to replace.
A bushing is a controlled compromise between two opposing jobs. It has to hold the suspension geometry closely enough that the wheel stays inside the alignment window, and it has to allow the articulation and torsion that a moving linkage needs. Every one of those jobs loads the elastomer and the bond between the elastomer and the metal tubes. Wear is therefore not a single process but several running at once, and the one that dominates depends on where the bush sits, how it is loaded and what it is exposed to.
Four conditions accelerate the process. Constant torsional wind up, which happens when the pivot bolt is tightened with the suspension hanging, keeps the rubber preloaded from the first kilometre. Oil, grease or cleaning chemical at the location attacks a compound that was not selected for it. Standing on hard suspension at high mileage fatigues the elastomer even without visible damage. And a contaminated or corroded housing bore allows the shell to rotate, which turns a press fit into a slipping joint.
The complaint usually points to one of three families of cause, and separating them early saves a wasted strip down.
Where the noise is present on one side only, damage or contamination is more likely than plain ageing, and the opposite side should still be inspected before any order is placed.
The elastomer pulls away from the inner or the outer tube. A partial separation produces a knock that is loudest on the first movement after the vehicle changes direction, because the bush has to take up the free play each time. The cause is usually a bond that was marginal from production, a press fit that loaded the bond during fitting, or long term exposure to heat and oil. Once separation starts it propagates quickly, because every cycle now loads the remaining bonded area harder.
Age and ozone turn the surface brittle and produce a network of fine cracks. A bush in this condition is not necessarily loose, but it transmits far more vibration than it did when new, because hardness is the property that governs isolation. Fine cracking alone is not always a reason to replace, but cracking that reaches the bond line or opens into the elastomer body is.
The rubber takes a permanent set, so the arm sits away from its designed position and the suspension no longer returns to the correct attitude. Alignment readings shift, tyre shoulders wear unevenly and the steering has a soft, delayed feel. This mode is common on vehicles that carry load near the top of the design envelope.
An undersized shell, a corroded bore or a previous repair that enlarged the housing lets the outer tube turn. The bush then wears the housing rather than working as a bearing, and a new bush pressed into a damaged bore will fail in the same way. This is the one failure mode that requires the housing to be assessed before a replacement is chosen.
When the pivot bolt is tightened with the suspension at full droop, the rubber is held in torsion at ride height with no load to justify it. The bush tears progressively from one side, and the vehicle sits slightly lower on that corner. It is entirely a fitting error and it is invisible on a visual check of the part alone.
Fuel, oil, brake fluid or an aggressive cleaning agent makes a standard natural rubber grade swell and soften. The bush becomes visibly larger and loses stiffness. The fix is not only a new part but a compound selected for the exposure, which is why an oil resistant formulation should be named on the drawing for any location near a leak path.
| Symptom | Most Likely Cause | Suggested Action |
|---|---|---|
| Single loud clunk on direction change | Partial bond separation | Remove and inspect the bond line and the shell fit |
| Continuous rattle over rough ground | Worn bore or a completely separated bush | Check the housing bore for wear before ordering |
| Vague steering and moving alignment | Excessive radial deflection | Test every bush in the same link, not just the suspect one |
| Boom or drone through the floor | Hardened elastomer with age | Replace as a pair or a set to keep isolation even |
| Fine surface cracks, no noise | Ozone ageing at an early stage | Record and monitor, replace at the next service |
| Rubber swollen and soft | Oil or chemical exposure | Specify an oil resistant compound for the replacement |
| One corner sitting low | Torsional wind up from fitting | Replace the bush and retighten at ride height |
| New bush failed within months | Loose press fit or fitting damage | Measure the housing and review the fitting method |
Once the part is off the vehicle, a short and consistent inspection sequence separates the modes above. Work through it in order, because a later check is meaningless if an earlier one fails.
| Measurement | What It Confirms |
|---|---|
| Inner bore, minimum of both ends | Whether the pivot fit is still within tolerance |
| Outer shell diameter | Whether the press fit will still hold the bush |
| Overall length and flange height | Whether the correct reference was supplied |
| Shore A at three points | Whether the compound has hardened or softened |
| Free movement under hand load | Whether the bond is still intact |
| Void layout and area | Whether the part matches the drawing and the opposite side |
| Housing bore diameter and roundness | Whether a new bush will stay in place |
A knock from the front end is not automatically a bush, and it is worth ruling out the parts that fail in a similar way before a strip down.
| Component | Distinguishing Sign |
|---|---|
| Control arm bush | Knock on direction change, alignment moves, rubber visible on the arm |
| Ball joint | Play felt with the wheel lifted and rocked, often with a torn boot |
| Top mount bearing | Spring twang when steering at a standstill, noise from the strut tower |
| Anti roll bar link | Rattle over small bumps, felt through the floor rather than the steering |
| Anti roll bar bush | Clunk when one wheel rides a bump, quiet when both wheels move together |
| Damper | Oil mist on the body, wheel continues to bounce after the vehicle is pushed down |
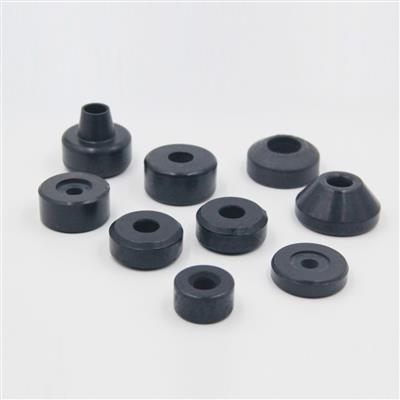
Where the vehicle also uses polyurethane bump stops or other shock absorber parts, a single front end inspection covers several wear items at once and reduces the chance of a second strip down for a missed part.
Once a failure is confirmed, the next decision is scope. The general rules below reflect how the load sharing changes when one element is renewed.
The replacement does not have to repeat the original choice. Where the same bush has failed more than once on the same model, the specification rather than the part is worth revisiting.
| Condition Found | Replacement Direction |
|---|---|
| Bush hardened and cracking at low mileage | Review the compound for heat and ozone resistance |
| Excessive radial deflection under load | Higher hardness rubber or a polyurethane grade with a stiffer radial rate |
| Oil or chemical present at the location | Oil resistant formulation, and check the source of the leak |
| Frequent failures in fleet use | Review the duty cycle and consider void and stiffness tuning |
| Noise the main complaint | Softer grade or a different void layout rather than a harder compound |
Harder is not automatically better. Raising the hardness reduces deflection and sharpens the steering response, but it passes more road noise into the body and loads the neighbouring mounts harder, so the softest element in the chain still tends to govern how the vehicle behaves.
A ball joint usually shows free play when the lifted wheel is rocked by hand, and it often has a torn or leaking boot. A bushing knock is heard most clearly on the first movement after a direction change and is normally accompanied by a moving alignment reading, with the rubber visibly aged or separated on the arm.
Where both sides have covered similar mileage, replacing them together is the usual recommendation, because a new bush beside a soft aged one changes the load sharing across the axle and can introduce a new noise or an uneven response. A single side replacement is reasonable where the failure was caused by local damage such as an oil leak or an impact.
No. Once the elastomer has hardened, cracked or separated from the tube, the part cannot be restored, because the bond and the compound are the functions it was bought to perform. Where the housing bore itself is worn, that surface has to be assessed as well, since a new bush will not stay in a damaged bore.
The most common causes are a press fit that is too loose so the shell rotates, pressing on the rubber during fitting and damaging the bond, tightening the pivot bolt with the suspension at full droop, or specifying a compound that is not resistant to the oil or chemical present at that location. Checking the housing bore and the fitting method resolves most repeat failures.
Bonpora Parts supplies suspension bushes and control arm bushes with carbon steel or aluminium tubes and natural rubber or polyurethane elastomer, built to the bore, shell, length, flange and void layout shown on your drawing, with hardness, stiffness and bond test results available for the production batch. If the original reference is obsolete or the part number is unreadable, send the inner bore, the outer shell diameter, the overall length and a photograph and our engineers will match the closest existing tool or quote a new one. Begin with the mounting bush range, review the wider chassis and suspension programme, see how related wear items are specified on the dust cover page, or contact our team with your specification and annual volume. New dimensions are quoted from drawings or samples under custom moulded and bonded parts, and further references are listed on the products page.