sales@bonporaparts.com
0086-10-64988621
English
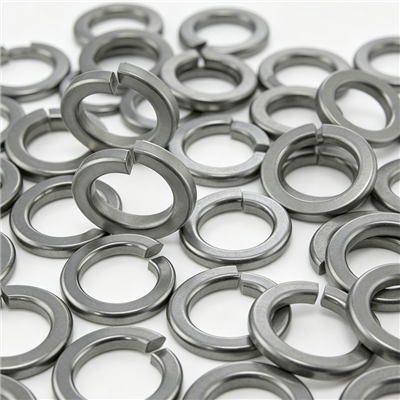
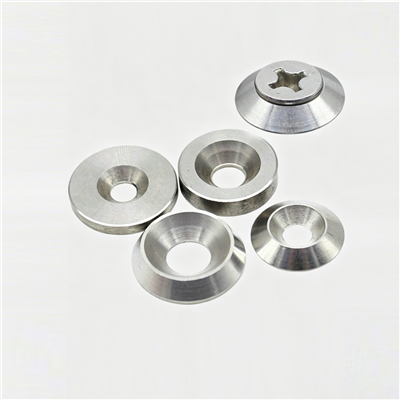
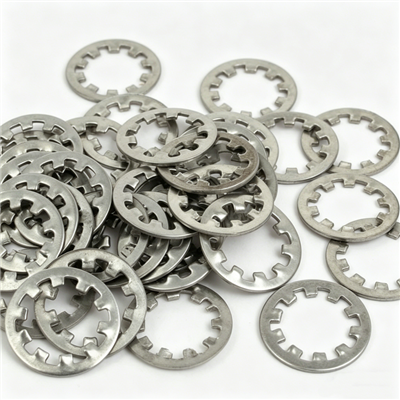
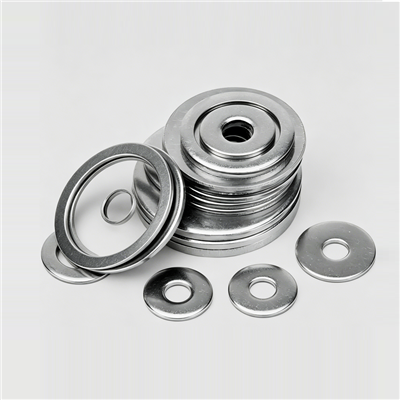
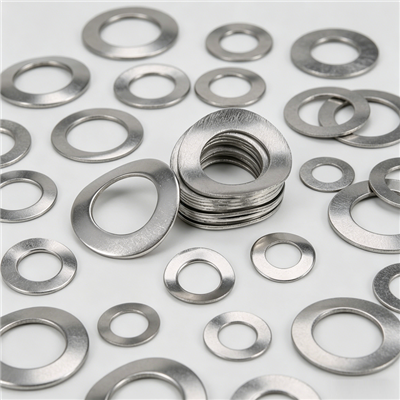
A washer or spacer is installed between two connecting components, typically at the mating surfaces of bolts, nuts or flanges. Its duties are quiet ones: adjust assembly clearance and compensate dimensional chain tolerances, help prevent loosening of connections through friction, provide a sealing effect when a sealing washer is used, and protect surfaces from scratches or stress concentration. When the joint starts to move, leak or lose torque, the washer is often the first part to be blamed and the last part to be examined properly.
That is a mistake worth correcting, because the washer carries the evidence. Its faces record the bearing pressure that was applied, its profile records whether it was crushed or flattened, and its surface records what the environment has been doing to the joint. Reading those signs takes a few minutes and separates a genuine part problem from an assembly, torque or design problem that would destroy a replacement washer in the same way.
Six mechanisms account for almost every washer complaint seen in service. They are distinct in cause and in appearance, which is what makes them diagnosable.
The clamp load in a joint falls in the first hours after tightening as microscopic surface peaks on the washer, the fastener and the clamped faces are flattened. The washer does not fracture and does not deform visibly; the joint simply becomes looser than the torque figure suggested. Thicker washers, softer materials and coarser surface finishes settle more, which is why joint criticality and washer specification should be considered together.
If the bearing stress exceeds what the washer material can carry, the washer cups, thins at the inside diameter or takes a permanent set. The visible sign is a dished profile when the washer is laid on a flat surface, or a bright polished ring on one face. Once cupped, the washer cannot distribute load evenly again, and re-tightening the joint will not restore the original bearing area.
Washers sit in the thinnest gap in the assembly, where water, road salt and cleaning chemicals collect and stay. Plain steel washers in an exposed location corrode from the edges inwards. Mixed metal assemblies are worse: a stainless washer against an aluminium housing creates a galvanic pair, and the softer metal becomes the sacrificial anode. The result is often described as a washer failure but is really a material selection issue for the joint as a whole.
A punched edge can carry a small tear or a work hardened lip. Under repeated load the tear propagates, and the washer splits or the bore elongates until the washer no longer centres on the fastener. Hole elongation also occurs when the clearance hole and the washer bore are mismatched, so that the washer bears against the edge of the hole instead of against the face.
In a sealing washer the bonded elastomer is the working element. It can be extruded out of the gap if the joint is over-torqued, cut during fitting if the flange face has a burr, or simply take a permanent compression set so that it no longer seals on the second tightening. A leak that appears after a joint has been opened and closed points at the seal, not at the fastener.
A washer of the wrong thickness changes the installed length of the assembly rather than failing visibly. On a suspension or steering joint that shows up as a ride height or alignment problem, and the washer is rarely suspected until the stack has been measured. A washer of the wrong hardness shows up as settling or cupping instead.
Work from the symptom the driver or the operator reports, then confirm with the physical evidence on the removed washer.
| Symptom | Evidence on the washer | Most likely cause |
|---|---|---|
| Fastener torque falls within days | Faint polished ring, no visible damage | Settling, contaminated or burred mating faces |
| Fastener torque falls and keeps falling | Cupped profile, thinned section | Bearing stress above the capacity of the material |
| Rust staining around the fastener | Corrosion from the edges inwards | Inadequate coating, trapped water, mixed metal pair |
| Crack through the ring | Tear or work hardened lip at the punched edge | Punching defect, plus cyclic load |
| Washer no longer centred | Elongated or opened bore | Mismatch between clearance hole and washer bore |
| Fluid weeping past the joint | Extruded or flattened elastomer | Over-torque, burred flange face, reused sealing washer |
| Ride height or alignment out of range | Washer thickness differs from the drawing | Wrong spacer in the dimensional chain |
Five steps give a reliable answer before parts are ordered, and they can be carried out with ordinary workshop tools.
Break the fastener free with a torque wrench and note the figure at which it starts to turn. A value far below the specified tightening torque, on a joint that has not been disturbed, is the clearest single indicator of preload loss.
Witness marks, fretting dust or a polished track around the fastener show that the joint has been moving. Movement means the clamp load has dropped below the level needed to hold the parts together under the applied load.
Note the position of any polished ring. A ring on one side only suggests a tilted or poorly seated joint. Rings on both faces at a diameter smaller than the washer face suggest over-torque. Rust that starts at the punched edge points to coating damage at manufacture rather than to service conditions.
Lay the washer on a surface plate and check for a rock, then measure thickness at four points. A variation of a few hundredths of a millimetre after service, compared with the same measurement on a new part, shows how much material has been displaced.
Where the complaint is a gap, a ride height or an alignment figure, measure the assembled stack against the drawing before blaming the washer. This is the step most often skipped and the one that finds the real fault.
Once the mechanism is known, the decision is usually straightforward. The table below gives the default path for each finding.
| Finding | Default action | When a design change is justified |
|---|---|---|
| Settling on a new joint | Clean and deburr, fit new washers, re-torque after run in | If settling continues on a critical joint, review washer thickness and surface finish |
| Cupping or over-compression | Replace the washer and review the torque figure | Where torque cannot be reduced, increase bearing area or move to a stronger material |
| Corrosion or galvanic attack | Replace with the specified coated or stainless type | Where the joint is exposed year round, consider a barrier coating or an insulating washer |
| Cracking at the edge | Replace the lot and inspect the remaining stock | Where the washer is load critical, move from punched to fine blanked or ground parts |
| Elongated bore | Replace washers, correct the bore to the clearance hole | If the joint relies on washer centring, specify concentricity as well as diameter |
| Sealing leak | Fit a new sealing washer, dress the flange face | Where the joint is opened regularly, specify a replaceable seal arrangement |
| Wrong thickness in the chain | Fit the correct spacer thickness | Reduce the number of stacked spacers, or ask the supplier for one controlled thickness |
| Check | Method | Failure threshold |
|---|---|---|
| Flatness | Surface plate and feeler gauge, or a straight edge across the face | Any visible rock or a gap that closes under light finger pressure |
| Thickness distribution | Micrometer at four points, 90 degrees apart | Spread wider than the drawing tolerance band |
| Bore and outside diameter | Vernier or plug gauge in two directions | Out of tolerance, or an oval bore |
| Edge condition | Visual and fingernail check on both faces | Any tear, crack, rolled lip or burr that lifts the washer off the face |
| Coating | Visual, plus a thickness gauge on critical parts | Bare patches, coating missing inside the bore, rust bloom |
| Sealing element | Visual and a light compression test by hand | Hardened elastomer, cuts, extrusion marks, separation from the backing |
Most repeat failures are removed at the drawing stage rather than in the workshop. If a washer has failed twice in the same location, it is worth revisiting four specification lines. First, the material, because a soft washer in a high load joint will always settle or cup. Second, the coating, because a joint that sees road salt needs a finish chosen for that exposure rather than for appearance. Third, the tolerances, because a thickness band that is too wide will eventually put a spacer outside the dimensional chain. Fourth, the surface condition at manufacture, because a burr or a punched tear will not be detected by a certificate but will show up in the field. Fitting practice matters as much as specification: washers should be clean and square, tightened in a crossing pattern, and replaced rather than reused in joints that come apart for service. Maintaining a reference sample signed by both the buyer and the supplier keeps later deliveries comparable to the part that was actually approved.
On shock absorber and strut assemblies the washer seats the rod nut, protects the mounting from the rotating nut during tightening and, as a spacer, sets the installed length of the assembly. A settled or cupped washer here shows up as a knock over bumps or as a change in ride height rather than as a loose fastener, so the diagnosis should include the washer even when the complaint points elsewhere. The same reasoning applies to subframe bolts, control arm pivots and stabiliser links in chassis and suspension work, and to bracket mountings that use washers to spread load over a soft or thin face. Where a joint has been rebuilt and the gap is not as drawn, check the structural seats and the mounting bushes in the same stack before ordering new washers.
Fit a new washer, tighten to the specified torque in a crossing pattern, and check the torque again after a short running period. If the joint holds, the original washer was the variable. If the fasteners lose torque again, the torque figure, the thread condition or the joint design is the cause, and changing washers will not fix it.
No. A tear at a punched edge is a manufacturing defect that survives into service because it is not visible on a quick visual check of a stacked part. Replace the lot and inspect the remaining stock, and where the washer is load critical, specify fine blanked or ground parts instead of punched ones.
Corrosion usually takes bearing area away gradually, and the loss of area is what causes the joint to loosen or the washer to deform. On thin washers, edge corrosion can remove a significant share of the section. In mixed metal joints, galvanic attack on the softer metal is often faster than ordinary rusting would suggest.
Because the elastomer in a sealing washer takes a permanent set at the first tightening. If the same sealing washer is used again, or the flange face is marked during the second assembly, the seal cannot conform to the profile it already carries. Fit a new sealing washer and dress the flange face before reassembly.
Send Bonpora Parts and Components Co.,Ltd. the failed washer, the torque used, the joint drawing and the service conditions, and the engineering team will comment on the failure mechanism and propose a material, coating or thickness change where one is justified. The washer and spacer range covers flat washers, spacers and sealing types in low carbon steel, stainless steel, copper, aluminium, PTFE and nylon, with customisation of any shape, size and thickness from a sample or a drawing. See the installation guide for fitting practice and the sealing guide for fluid tight joints, or contact the team directly.