sales@bonporaparts.com
0086-10-64988621
English
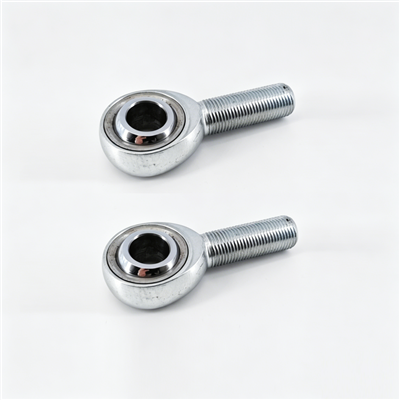
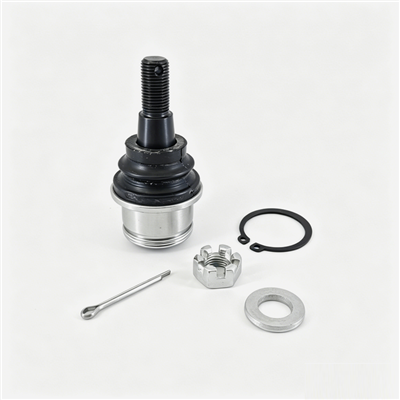
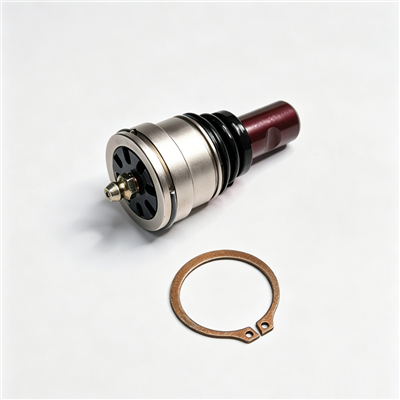
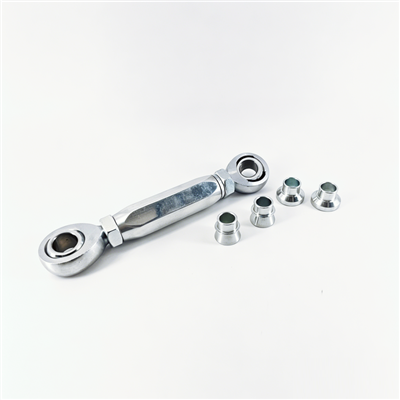
Links and ball joints connect the various moving parts of the suspension system. A ball joint is installed at the end of a control arm, a tie rod or a similar member and forms a spherical hinge. Bonpora lists two duties for the group: a link transmits force and motion while allowing a certain range of swing, and a ball joint enables multi-directional rotational movement while withstanding both axial and radial loads. The materials are carbon steel or aluminium alloy for the link, polyoxymethylene or nylon for the ball joint housing, and quenched alloy steel for the ball stud. Quality control inspects starting torque, swing torque, axial play and dust cover durability, the warranty is one year or 30,000 km for looseness or abnormal noise, and customisation covers link length, ball stud diameter and dust cover material. This article deals with the other half of the subject: how a joint degrades in service, how a workshop identifies the joint that is causing a complaint, and when a link or a joint has to be replaced rather than reused.
A ball joint has one moving surface, one seal protecting it and one preload holding it together. Almost every failure mode reduces to one of those three.
A hardened alloy stud runs against a polymer seat inside the housing. The pair is designed to run with a film of grease and a controlled preload. The dust cover is what keeps the grease in and the road out, so the life of the bearing surface is decided by the condition of the cover more than by the load the joint carries.
As the polymer seat beds in and the sphere surface polishes, the preload in the assembly is gradually lost and the stud gains a small amount of movement along its own axis. That movement is what a driver hears when the load direction reverses. Growth in axial play is therefore the earliest measurable sign that a joint is approaching the end of its useful life, well before it becomes unsafe or noisy.
The modes below cover the practical cases for a road vehicle, and each one leaves a different trace.
A split, hardened or displaced cover allows water and grit to reach the bearing surface and lets the grease escape. The joint then wears quickly, whatever its load capacity. A cover that has failed is a joint that has started its decline, even when the play measurement is still inside the window.
This is the classic worn joint. The stud moves along its axis, a knock appears on small bumps and on direction changes, and a hand check with the wheel raised shows movement. This is also the condition named in the warranty wording for looseness.
Water ingress can corrode the seat area, and a joint that has stood unused can develop a stiff spot. The symptom is different from looseness: the steering feels heavy, the driver reports that the vehicle does not self centre as it did, and swing torque measures high. A stiff joint loads the arm and the steering rack in ways the design did not intend.
The taper is a friction joint. If it was not fully seated, if it was assembled with grease on the taper, or if the nut was reused when the specification called for a new one, the stud can move and the seat can be damaged. A damaged taper cannot be recovered by tightening harder, and the assembly will lose clamp load again.
On a link, the body is an exposed steel or aluminium member with a joint at each end. Coating damage from road salt reduces the section, and a link body that has lost material can bend or break at a load far below its original capacity. On an aluminium link, the interface to the steel stud is the area to inspect for galvanic attack.
The polymer housing or insert holds the preload. Under sustained load and temperature cycling it can take a compression set, which reduces preload and shows up as axial play. This is a slow mode, and it is the reason axial play is inspected on the finished assembly rather than calculated from the components.
| Symptom reported | Likely mode | How to confirm | Action |
|---|---|---|---|
| Knock on small bumps at low speed | Axial play in a joint | Hand check for stud float with the wheel raised | Replace the joint or the complete link |
| Clunk on direction change | Axial play, or a loose taper | Check play and inspect the taper seat | Replace if the taper or the joint is damaged |
| Steering feels heavy or does not self centre | Stiff joint from corrosion or lack of grease | Compare swing torque with a known good joint | Replace the joint |
| Grease visible around the stud | Dust cover split or displaced | Visual check of the cover and its retention | Replace before the bearing surface wears |
| Rust staining or section loss on the link | Coating failure and corrosion | Clean the area and examine the section | Replace the complete link |
| Vibration or wander with no joint play | Not the joint | Check the wheel bearing, the damper and the tyres | Look elsewhere before changing parts |
A knock in a front suspension can come from a joint, a bushing, a damper mount or a stabiliser link. The sequence below narrows it down without removing parts on suspicion.
First, feel the stud for free play with the wheel raised and the load taken off the joint. Second, check the dust cover for splits, displacement and grease loss. Third, move the joint through its working angle by hand and compare the resistance with the joint on the opposite side, which is the simplest available reference. Fourth, look for the marks that tell a story, such as a polished ring on the taper, a fresh bright area on the housing or rust staining on the link body.
A worn damper or a worn top mount often produces a noise that sounds identical to a joint. The pry test at the bushings, a check of the damper for oil loss and a road test that reproduces the noise over a known surface are the three steps that separate them. Where the noise changes with steering angle, a tie rod joint is the more likely source; where it changes with suspension travel, the control arm joint or the stabiliser link is the more likely one.
| Check | Method | What a positive result means | Limit of the check |
|---|---|---|---|
| Stud free play | Hand load with the wheel raised | Axial play present | Small float needs experience to detect |
| Dust cover condition | Visual with a lamp | Water and grit ingress has started | An intact cover does not rule out wear |
| Swing resistance | Move the stud through its angle by hand | Stiff joint, corrosion or loss of grease | Comparison with the opposite side is needed |
| Taper and thread | Visual after separation | Movement at the seat, loss of clamp load | Requires partial disassembly |
| Road test over a known surface | Drive the route that reproduces the noise | Confirms which axle produces the complaint | Does not identify the individual joint |
The decision depends on the design of the assembly and on the condition of the taper, not on the age of the vehicle.
Where the arm or the link is designed with a replaceable joint, and where the arm and the bore are sound, replacing the joint is a legitimate repair. Press or screw the joint in according to the design, use the specified preload or torque, and fit a new dust cover if the design includes one.
The complete assembly is the correct answer where the joint is pressed and staked in a way that does not allow a sound replacement, where the link body has lost section to corrosion, where the arm has any crack, or where the taper seat has been damaged. Reusing a damaged taper produces a joint that will lose clamp load again, and reusing a link that has lost section carries a structural risk that no amount of tightening corrects.
| Condition | Recommended action | Reason |
|---|---|---|
| Axial play at the joint, arm or link body sound | Replace the joint if the design allows | The wear item is the joint, not the structure |
| Dust cover split, play still small | Replace the joint or the link | Wear will follow once the seal is gone |
| Stiff joint from corrosion | Replace the joint | The bearing surface cannot be restored |
| Damaged taper or thread on the stud or the seat | Replace the complete joint and check the mating part | Clamp load cannot be recovered at a damaged seat |
| Section loss on the link body | Replace the complete link | Fatigue capacity is unknown after corrosion |
| Crack in the arm or the link | Replace the complete assembly | A cracked structural part is not a repair item |
Bonpora gives one year or 30,000 km for ball joint looseness or abnormal noise, which means the claim is assessed on the condition of the joint itself. A claim is easier to settle when the workshop can show the play measured, the condition of the dust cover, the fitting date and the odometer, and the batch or part reference of the joint that failed. Two conditions are worth separating in the record. A joint that has failed through normal wear within the period is one case. A joint that has failed because the taper was not seated, because the cover was damaged during fitting or because a single use nut was reused is a fitting issue, and identifying it honestly is what allows the correct corrective action to be taken either way.
Most premature joint failures are created during installation or by a condition the workshop can influence.
Seat the taper fully before tightening the nut, and never lubricate a taper unless the specification says so, because friction at the taper is what holds the joint. Use a separator or a puller to release a taper instead of striking the joint body, since a blow can deform the housing and change the preload. Replace single use fasteners, and tighten to the specified value rather than to a feel. Check that the dust cover is not twisted or pinched after assembly. On a link, refit without side load so that the joints sit at their neutral angle.
Washing the underside after the winter period slows coating failure on the link body. Prompt replacement of a split cover, before the bearing surface wears, is the single cheapest intervention in this category. Where a vehicle is used on unsealed surfaces, the inspection should follow the road condition rather than the calendar, because grit reaches the covers continuously. None of these measures changes the joint design, and together they are what determines whether the joint reaches the end of its planned life.
Where the arm or the link is designed with a replaceable joint, yes. Where the joint is pressed and staked into a sealed assembly, or where the bore or the taper seat is damaged, the complete assembly is the correct repair.
Any measurable float belongs to the wear process rather than to normal operation. A joint at the beginning of that process can be recorded and re-checked at the next service, while a joint with a knock, a split cover or visible play should be replaced.
Water ingress and corrosion at the bearing surface, or loss of grease through a failed cover. The complaint is different, usually heavy steering or poor self centring, and the measurement to check is swing torque rather than axial play.
A split cover means water and grit have already reached the bearing surface, and the wear that follows is rapid. Replacing the joint or the link at that point is normally cheaper than waiting for the knock that brings the vehicle in later.
Send the vehicle details, the measured play, the cover condition and the part reference to the technical team at Bonpora Parts and Components Co.,Ltd. for help in deciding between a joint replacement and a complete link. The link and ball joint range covers the available assemblies, the selection and specification guide explains the four inspection values, and the related control arm and tie rod ranges describe the same joints in their own positions.