sales@bonporaparts.com
0086-10-64988621
English
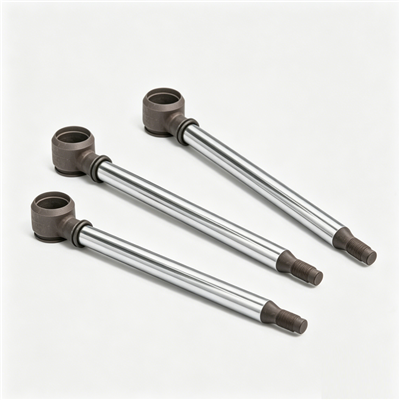
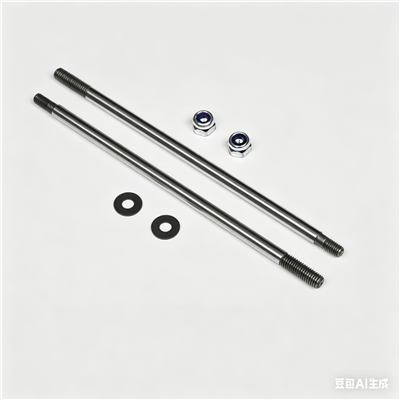
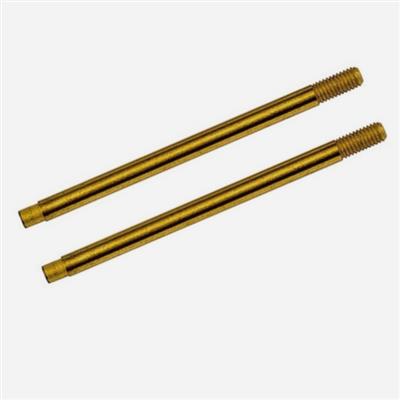
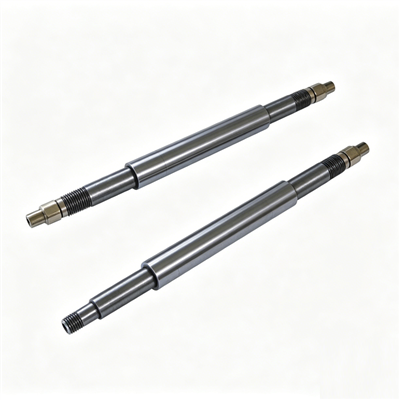
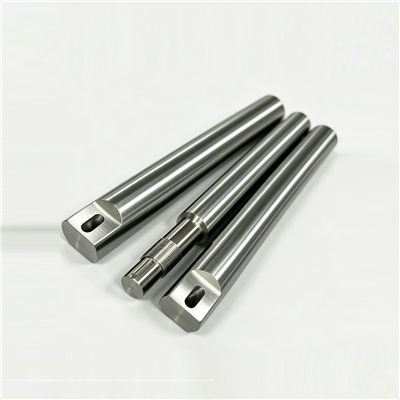
The source row describes the shock piston rod as the core moving component of a shock absorber, made from carbon steel such as S45C or S55C or an alloy steel such as 40Cr with induction hardening or carburising, and working as both the motion transmitter and the sealing mating surface that carries bending loads and sliding friction. The design life under normal conditions is stated as 80,000 km or 5 years, with a warranty of 2 years or 80,000 km whichever comes first.
In practice a rod that is replaced under warranty most often failed for a reason that developed over distance rather than at a single moment. Understanding the sequence matters, because a workshop that replaces only the seal on a damaged rod will see the same leak return within a few thousand kilometres and will usually blame the seal supplier.
A dull band on the running surface, sometimes with a clearly defined edge where the coating has lifted. Running a fingernail across the surface catches the edge of the flake. In its early stage the band is only cosmetic; in its later stage the exposed base material corrodes and the surface becomes abrasive.
Plating adhesion is the primary cause. It is influenced by pre-treatment before plating, bath chemistry and current density, which is why adhesion is tested on a sample rather than judged by appearance. Impact damage can also start a flake, after which the loss propagates along the running track.
Replace the rod. A flaking surface cannot be restored by polishing, because polishing removes the remaining coating and enlarges the damaged area. Where the cause is impact, the vehicle also needs protection for the exposed rod section, otherwise the replacement will be damaged the same way.
Pitting appears as small dark craters, often concentrated on the exposed section of the rod where a stone chip or a chemical splash has breached the surface. In coastal or winter road environments, salt accelerates the process considerably.
The damage mechanism is not the pit itself but what it does to the seal. Each pit edge acts as a cutting tool running across the seal lip, and each pit holds abrasive debris. A rod with visible pitting should be replaced, and the seal should be replaced at the same time, because the lip has already been damaged by the surface that the technician can now see.
A bent rod shows up in three ways. The damper leaks on one side of the seal, the wheel position no longer matches the opposite side, and the rod runout measured on the bench exceeds the drawing value. On a vehicle the third check is the only conclusive one.
A small bow is deceptive. The rod still moves, the vehicle still drives, and only the seal suffers. The uneven side load raises local contact pressure, so the lip wears through on one side while the rest of the seal looks new. That pattern, a seal worn on one side only, is the classic signature of a bent rod.
Straightening a used rod is not recommended. The operation introduces residual stress into a part that has already seen fatigue cycles, and it may crack the hardened case or the coating. Replacement is the reliable route, and on a heavy duty or off-road vehicle the surrounding components should be checked for the impact that caused the bend.
| Observation | Interpretation | Action |
|---|---|---|
| Visible step or ridge along the running track | Material loss or deposit at the seal interface | Measure diameter, replace if outside tolerance |
| Highly polished band | Oil film too thin or excessive side load | Check alignment, check roughness, replace if out of band |
| Grit embedded in the surface | Dust ingress past a damaged boot or guard | Replace the rod and repair the protection |
| Discolouration over part of the length | Local overheating from friction or a dry seal | Replace the rod and the seal, check the oil |
| Thread or shoulder damage | Assembly with incorrect tooling | Assess thread with a gauge, replace if affected |
Each of these observations can be made with a good light, a micrometer and a dial indicator. None requires a laboratory, which is why a rod condition check belongs in every damper service rather than only in a warranty investigation.
It is worth listing the seal separately, because the leak that brings the vehicle into the workshop is usually the seal failure and not the rod failure. The rod is the tool; the seal is the workpiece.
Reading the seal is therefore a diagnostic step, not merely a replacement step. The pattern tells the technician which rod condition to look for.
Step seven is frequently skipped and frequently decisive. Grit in the oil means the dust protection has failed, so a new rod and seal will fail in the same way unless that protection is restored.
Three questions settle most cases. Is the running surface intact and within roughness and tolerance limits. Is the rod straight within the drawing value. Does the surrounding suspension geometry allow the rod to run centred in its seal. If all three answers are yes, the damper can be rebuilt with a new seal. If any answer is no, the rod should be replaced, and the reason for the answer should be recorded.
| Condition | Seal only | Rod and seal |
|---|---|---|
| Intact surface, straight, in tolerance | Yes | No |
| Light cosmetic marking only | Yes, with measurement | No |
| Chrome flaking or pitting | No | Yes |
| Measurable step or diameter outside tolerance | No | Yes |
| Runout beyond the drawing value | No | Yes |
| Impact damage or a bent rod | No | Yes, plus body inspection |
Four practices reduce repeat failures. Refit or repair the dust protection so that grit cannot reach the running surface. Confirm that the damper is aligned in its mountings after any suspension work. Check that the spring has not sagged, because a sagged spring allows the damper to reach the end of its travel more often. And keep the replacement rod in its sleeve until the moment of fitting, because a handling mark made on the bench is indistinguishable from a manufacturing defect once the damper is assembled.
Where a rod has failed early on one vehicle only, compare the surrounding geometry with a vehicle that has not failed. That comparison is usually more informative than any examination of the failed part alone.
The source row gives a warranty of 2 years or 80,000 km whichever comes first, covering material and manufacturing defects. A claim is decided on evidence, and three items carry most of the weight: the failed rod with its surface intact enough to see the failure mode, the mileage and fitment date, and photographs of the running track taken before cleaning.
Where the failure mode is flaking or pitting on a part that is inside the warranty period and has not been impacted, it is normally treated as a manufacturing issue. Where the mode is bending or impact damage, the cause is outside the part and the discussion moves to the vehicle and its protection, which is a different conversation and should be held openly rather than deferred to the claim desk.
Only where the mark is purely cosmetic, does not reduce the diameter outside tolerance and leaves the coating intact. Polishing a scratch that has cut through the coating removes the remaining protection around it and makes the defect worse.
Almost always because the rod is not running straight in the seal. A bend, a worn guide, or a mounting that has been disturbed during suspension work will all produce one-sided wear, and the rod should be checked for runout before a new seal is fitted.
Inspect at every damper service, and on heavy duty or off-road vehicles at the intervals set out for the duty band. A rod that is checked with a light and a micrometer at each service rarely fails without warning.
On a rebuildable damper, yes, and the source row supports custom production of rods by length, diameter, surface treatment and end connection. On a sealed unit the economics usually favour replacement of the whole damper.
Bonpora Parts and Components supplies piston rods in S45C, S55C and 40Cr with induction hardening, carburising, hard chrome, nitriding and special coatings, including custom lengths, diameters and end connections to drawing or sample. Review the piston rod range, read the selection guide and the manufacturing and quality guide, or compare the shock absorber component range. Send failed part photographs and vehicle data through the contact page for a condition assessment, or use the custom parts service to reproduce a rod that is no longer available.