sales@bonporaparts.com
0086-10-64988621
English
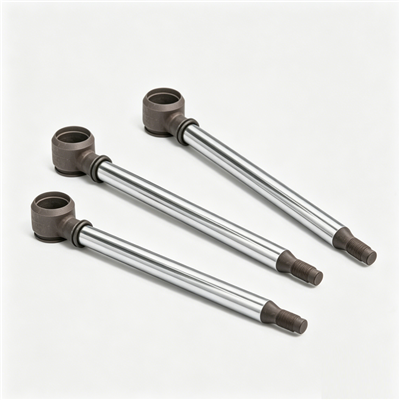
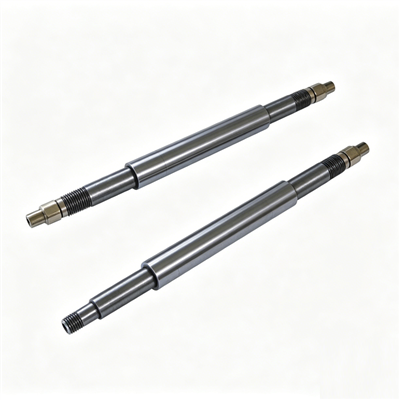
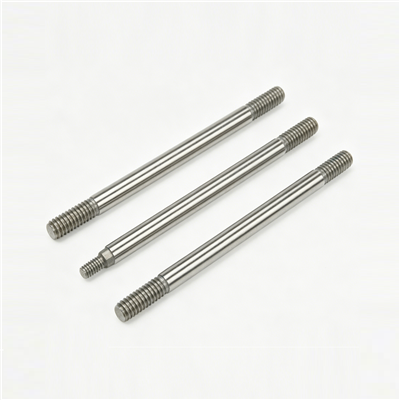
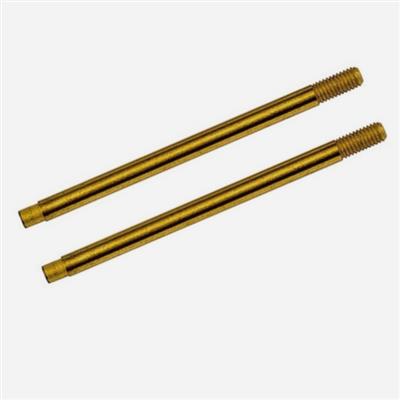
The source row describes the shock piston rod as the core moving component of a shock absorber, with one end connected to the piston assembly inside the working cylinder and the other passing through the oil seal and guide seat to the vehicle body or suspension. Made from hardened carbon or alloy steel with a treated surface, it carries the motion, the bending load and the sliding friction of the damper.
A new rod can be ruined in the first thirty seconds of assembly. Dragging it through a dry seal, letting it rest on a bench edge, or pushing it through a guide seat whose bore has a burr will all leave a mark that bypasses the protection the surface treatment was designed to provide. This article describes an assembly sequence that treats the rod surface as the critical feature it is.
Check the new rod for surface condition and for straightness before it goes anywhere near the damper. Check the cylinder bore for scoring and the guide seat bore for burrs. A two minute inspection at this point is cheaper than discovering a mark after the unit has been filled with oil.
Dampers tolerate very little grit. Blow out the cylinder, wipe the internal parts, and keep the working area free of grinding dust. Where the workshop also does machining, a separate assembly bench is worthwhile.
The single most effective protection is a fitting sleeve, sometimes called a bullet or cone, that covers the threads, the shoulder and any step while the rod passes through the seal. Without one, the seal lip has to ride over sharp edges, and a lip that has been nicked in this way may still seal for a hundred kilometres before it leaks.
Two further habits help. Support the rod along its length rather than cantilevering it, so that its own weight does not bend the exposed section on the bench. And never lay a plated rod directly on metal; use a soft mat or keep it in the sleeve between operations.
Steps two and four are the two that separate a durable rebuild from a temporary one. A dry lip is damaged on the first stroke, and an uninspected lip is a leak waiting for the first long drive.
| Fastening | Key control | Common error |
|---|---|---|
| Piston to rod | Correct torque with the rod held on a flat or a machined feature | Holding the rod on the plated surface with grips |
| Rod guide to body | Even tightening, thread condition checked | Tightening one side first and skewing the guide |
| Top nut or mount | Torque with the spring compressed and the mount seated | Torque applied while the spring is still free |
| Gas charge port | New sealing washer, correct pressure | Reusing a deformed washer |
| Dust boot or guard | Seated fully at both ends | Left loose, allowing grit to reach the rod |
Where a torque value is not published, the manufacturer or the damper supplier should be asked rather than a value being estimated. The rod to piston joint in particular carries the full damping load through a small thread.
Oil volume is a specification, not a judgement. Too little oil allows the damper to cavitate under hard use, which produces inconsistent damping and a noise that customers describe as a knock. Too much oil restricts the stroke and can damage the seal when the unit is closed.
Bleeding is done slowly and repeatedly. Work the rod through the full stroke with the unit upright, pause to let the oil settle, and repeat until no further bubbles appear at the surface. A gas charged damper is then charged to its specified pressure before the final closure. Where the design has a floating piston or a bladder separating the oil from the gas, the filling sequence for that chamber should be followed exactly as the design intends.
Assembly on the bench is only half the job. When the unit is refitted to the vehicle, the rod has to run centred in its seal under load. Three checks catch the common alignment faults. Confirm that both mounting points are free of damage and that the bushes are in good condition. Check the ride height on both sides of the vehicle so that a sagged spring is not loading one unit harder than the other. And with the vehicle on the ground, check that the rod does not contact the dust boot or any other component through the stroke.
Bent rods on road vehicles are often the end result of a mounting that was not seated correctly during a previous repair rather than of any impact.
| Check | Acceptance |
|---|---|
| Stroke operation by hand | Smooth, consistent resistance, no step or rough point |
| Seal area after cycling | Dry, with no film of oil around the guide |
| Rod surface after cycling | No new marks, no sign of lip contact damage |
| Oil level and closure | Correct volume, new gasket or seal, hardware tightened |
| Gas charge where applicable | At specification, no leak at the port |
| Identification | Unit marked and the record completed |
A rebuild that passes all six checks is unlikely to return. One that passes four is a warranty claim in waiting.
Store assembled units upright, with the rod protected, until they are fitted. Where a unit is to be stored for a long period, keep it out of direct sunlight and away from ozone sources such as electric motors, which age rubber and polyurethane components in a closed store. Deliver the unit to the vehicle with the documentation that records the rod reference and the work performed, so that the next person to touch the vehicle knows what is inside.
Yes, in almost every case. The old seal has been running against the old surface and its lip is already matched to a worn profile. Fitting a new rod through an old seal usually produces a leak within a short distance.
Only if the running surface is intact within tolerance, the rod is straight to the drawing value and the coating has not lifted. Once a coating has begun to flake, the remaining surface cannot be restored by polishing.
Inserting the rod without a protection sleeve. It is quick, it is invisible in the finished unit and it damages the seal lip at exactly the point where the surface is least protected.
The source row gives a service life under normal operating conditions of 80,000 km or 5 years. On a rebuilt unit, a first vehicle inspection after a few hundred kilometres is worthwhile, because it catches an installation fault while the cause is still fresh.
Bonpora Parts and Components supplies piston rods to drawing or sample in S45C, S55C and 40Cr with induction hardening, carburising, hard chrome, nitriding and special coatings, together with the shims, bumpers and related components used in the same damper. Review the piston rod range, read the selection guide and the manufacturing guide, or compare the shock absorber component range and the steel shim range. Rebuild shops can send their reference list and annual quantities through the contact page for a quotation and a recommended stocking list.