sales@bonporaparts.com
0086-10-64988621
English
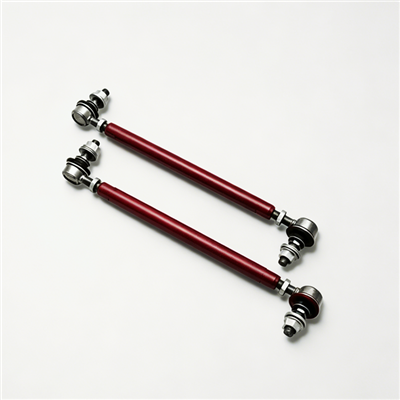
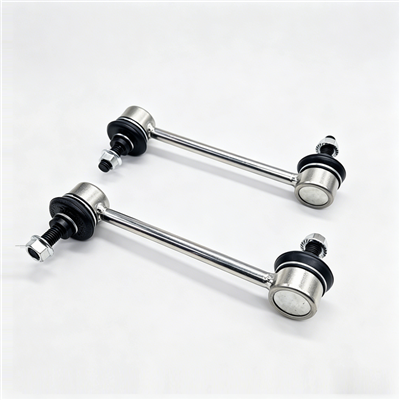
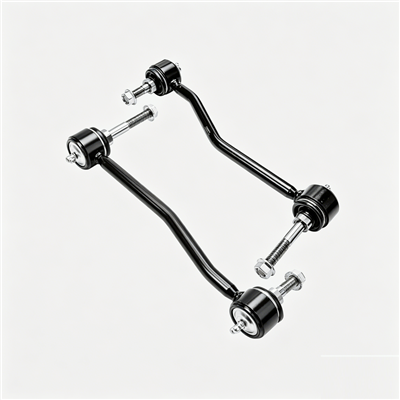
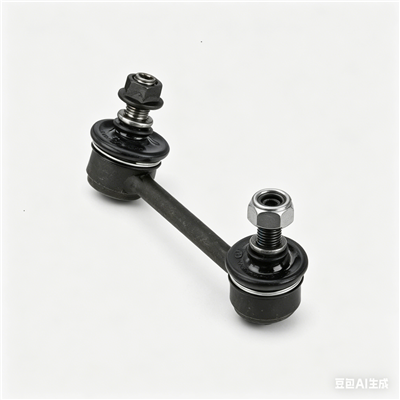
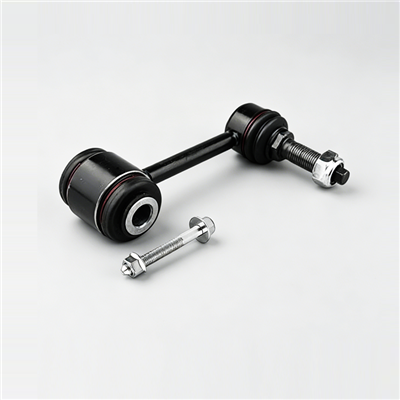
A stabilizer bar, also called a sway bar link assembly point or an anti-roll bar, is mounted on the subframe or the vehicle body, with its two ends connected to the left and right suspension lower control arms or shock absorbers through stabilizer links, which are also known as drop links. It reduces body roll during cornering and improves driving stability by transferring part of the compression deformation from one side of the suspension to the other, which balances wheel load distribution.
Because the bar is a torsion spring, the fasteners that hold it are loaded even when the vehicle is standing still. Every step of this job has to respect that, and the most common installation failures trace back to a bar that was tightened with the suspension hanging at full droop.
| Item | Why it is needed on this job |
|---|---|
| Vehicle lift or two axle stands | The bar must be reached from below with the wheels supported at ride height for the final tight |
| Drive on ramps or a wheel support stand | Allows the final torque pass with the suspension loaded |
| Torque wrench covering the link and bracket range | Link joints and bracket bolts are sensitive to both under and over tightening |
| Deep sockets and a hex or Torx set | Drop link ball joints usually need a second hold on the stud |
| Penetrating oil and a wire brush | Link studs and bracket bolts seize quickly in road salt conditions |
| Pry bar | Loads the bushing and the link to reveal play that a visual check misses |
| Bushing grease approved for the compound | Prevents the squeak that returns within a few hundred kilometres |
| Paint pen and camera | Records witness marks and the original arm position for the record |
Before the vehicle is lifted, mark the position of each link relative to the arm. Once the wheels leave the ground the bar unloads and the suspension droops, and a bar that was preloaded during the last assembly will spring as the last link is released. Support the vehicle properly, work with the bar unloaded only when both sides are free, and never put a hand between the bar and the subframe while a link is still attached.
| Component | Role in the assembly | Typical wear pattern | Decision at this job |
|---|---|---|---|
| Bar | Torsion spring across the axle | Corrosion pitting, cracking at a formed end | Replace if cracked or out of specification; otherwise reuse |
| Bushings | Position the bar and add controlled compliance | Bore enlarged, rubber perished or hardened, bar shifts sideways | Replace as a pair whenever the bar is removed |
| Brackets and bolts | Clamp the bushings to the body or subframe | Rust, thread damage, cracked bracket | Replace damaged hardware, never reuse a stretched bolt |
| Drop links | Connect the bar ends to the suspension | Ball joint play, split boot, seized stud | Replace as a pair; a link is a wear item |
| Arm end bolts | Fix the link to the arm | Thread corrosion | Replace when the coating has failed |
The bar itself is often the cheapest component to inspect and the most expensive to replace unnecessarily. Bushings and links, by contrast, are the parts that produce the noise that brings the vehicle in, so they are normally renewed as a pair on each end.
Drop link studs commonly seize into the arm. Cut the link if the ball joint has already failed and the part is being replaced anyway, then clean the arm thread with a tap before the new link goes in. Never apply heat to a spring steel bar to free a fastener, because local heating changes the heat treatment and creates a crack origin.
The mounting points deserve as much attention as the bar. Look for elongated bolt holes, cracks radiating from a bracket bolt, and corrosion that has thinned the subframe around the seat. A bar that is refitted onto a damaged mounting point will move under load and produce a knock that no new part will cure. Check the lower control arm or shock absorber mount at the other end of each link as well, because a worn mount and a worn link produce the same complaint.
Fit bushings of the correct bore, width and compound, and confirm that any locating collar or stop is positioned as the released drawing shows. Apply the approved grease to the bore face rather than to the outside of the bushing. A bushing that is a loose fit in the bar bore will allow lateral movement, and lateral movement is one of the two ways a stabilizer bar makes noise.
Start link fastenings by hand to avoid cross threading, and hold the ball stud with the correct key while tightening the nut. Confirm that the boot is not twisted or pinched, and check that the link sits within its angular range at ride height. On adjustable end links, set the length so that the bar sits unloaded with the vehicle at ride height and the wheels straight ahead.
This is the step that separates a durable repair from a repeat visit. Lower the vehicle until the suspension is carrying its normal load, with the wheels on ramps or on a wheel support, then tighten the bracket bolts and the link fastenings. A bar tightened at full droop is preloaded as soon as the vehicle is lowered, which loads the bushings in a direction they were not designed to hold for a full service life.
| Fastener | Sequence | Practice notes |
|---|---|---|
| Bushing bracket bolts | Both bolts started by hand, then tightened evenly | Tighten at ride height; use the vehicle manufacturer figure for the platform |
| Link to bar arm | Ball stud held, nut tightened to the released figure | Over tightening crushes the boot and shortens joint life |
| Link to control arm or damper | Same practice as the bar end | Check for full thread engagement before final torque |
| Adjustable link lock nut | Set length first, then lock | Recheck the length after the first road test |
Torque values are platform specific, so the figures released by the vehicle manufacturer should always take priority over a generic table. What a generic table is useful for is the practice: even tightening across a bracket, holding ball studs correctly, and completing the final pass with the suspension loaded.
Not for the bar alone, because the bar does not set any alignment angle. If the job also involved lower control arm or subframe work, an alignment check is part of the repair. The exception is an adjustable end link, where the length setting is verified by eye and by clearance rather than by alignment equipment.
Bushings should be renewed as a pair whenever the bar is removed, because they have to be pressed off the bar anyway and they are the parts that hold it in position. Drop links are wear items and are best judged on play; if one side has play, replacing the pair keeps the axle balanced.
The usual causes are a bar tightened at full droop, an exhausted bushing, or a worn part elsewhere in the same load path, most often the drop link or the shock absorber top mount. Recheck the tightening sequence at ride height and inspect each joint with a pry bar before replacing the bar again.
The final tightening should be done at ride height, and that can be done with the vehicle on ramps or on a wheel support stand. The removal and the rough fitting are easier with the vehicle raised, so most shops raise the vehicle for the strip down and lower it for the torque pass.
Bonpora supplies stabilizer bars in solid or hollow spring steel with a 2 year or 50,000 km warranty covering fracture and excessive permanent deformation, and supports customization of diameter, length, end shape and mounting points with sample validation. Start from the stabilizer bar range, check the selection and specification detail in the anti-roll bar specification guide, pair the bar with matching mounting bushings, and send the vehicle data through the contact page.