sales@bonporaparts.com
0086-10-64988621
English
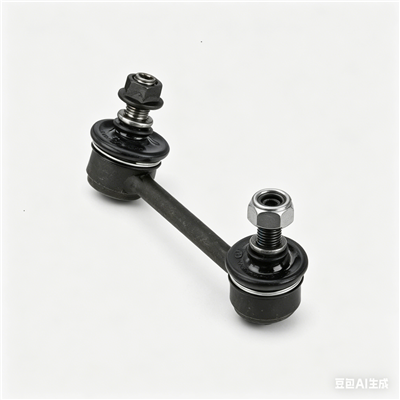
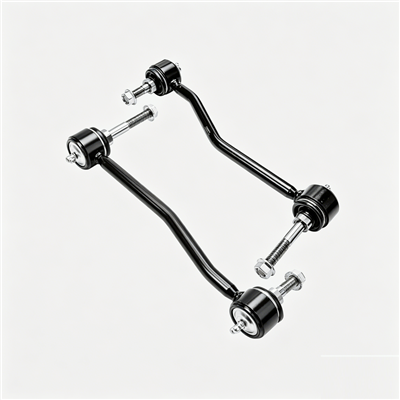
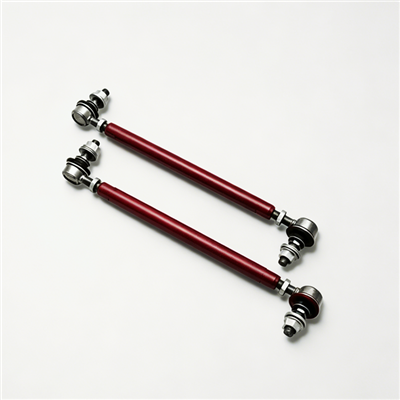
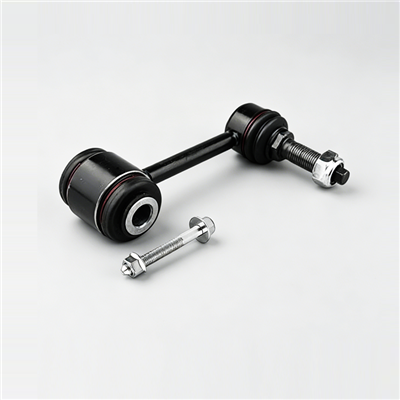
A stabilizer bar, also called a sway bar link assembly point or an anti-roll bar, is mounted on the subframe or the vehicle body, with its two ends connected to the left and right suspension lower control arms or shock absorbers through stabilizer links, which are also known as drop links.
Its job is to reduce vehicle body roll during cornering and to improve driving stability. It does that by transferring part of the compression deformation from one side of the suspension to the other, which balances wheel load distribution across the axle. The bar is a torsion spring: one end is loaded, the bar twists, and the opposite end receives a share of that load.
The bar is held to the body or subframe by two rubber or polyurethane bushings, and its ends reach the suspension through links. That layout means three separate interfaces share the duty: the bar itself, the bushings that position it, and the links that connect it. A complaint about a bar is often a complaint about one of the other two.
Roll stiffness is what the driver feels as cornering composure, and the bar is the cheapest place to change it. Because the bar only works when the two sides of an axle move differently, it has little effect on ride quality over a symmetric bump and a large effect on how the body leans in a turn. That is the reason it is tuned rather than simply specified as a diameter.
| Construction | Characteristics | Where it is normally chosen |
|---|---|---|
| Solid bar | Simple to produce, predictable torsional behaviour, higher mass for a given diameter | Aftermarket upgrade bars, older platforms, heavy duty applications |
| Hollow bar | Similar torsional stiffness at a larger outer diameter with less mass, more demanding to produce | Modern passenger cars where mass reduction and packaging drive the design |
A hollow bar moves the material away from the centre of the section, where it contributes least, and places it at the outer surface, where the torsional stress is highest. For a target stiffness, that normally means a lighter part. The trade off is process control: wall thickness consistency, end forming and any welded fitting all need to be held within tolerance, and the inspection plan has to follow.
Mass matters because the bar sits low in the vehicle and is unsprung at its ends. Packaging matters because the bar runs across the subframe and must clear the sump, the steering gear and the exhaust. These two constraints usually decide the construction before the stiffness target does.
Bonpora lists solid or hollow spring steel for the stabilizer bar, with 60Si2Mn and 55Cr3 given as examples. Both are established spring steels for this duty, and the qualification is done on the finished bar rather than on the steel certificate alone.
| Grade | General character | Typical use in a stabilizer bar |
|---|---|---|
| 60Si2Mn | Silicon manganese spring steel with good fatigue resistance and through hardening behaviour | Common choice for solid passenger car and light commercial bars |
| 55Cr3 | Chromium spring steel with good hardenability and resistance to temper softening | Larger sections and applications where consistent hardness through the section matters |
Two bars of the same grade can behave differently if the bar diameter, the end forming and the heat treatment differ. The hardness range proves that the heat treatment was carried out to the released specification, and the fatigue test proves that the finished geometry survives the duty cycle. Buyers who specify only the grade and the diameter leave the part behaviour to chance.
Spring steel is formed, quenched and tempered to a hardness window set by the drawing. Below the window the bar is prone to permanent deformation; above it, the material is more sensitive to cracking at the end radii. Because both ends of the bar are usually upset or forged into shape, the hardness check is normally taken on the bar body and on the formed ends.
Torsional stiffness of a round section rises steeply with diameter, roughly with the fourth power of the diameter, while a change in length acts roughly in inverse proportion. This is why a small increase in bar diameter produces a large change in roll stiffness, and why an aftermarket bar that looks only slightly thicker can feel very different on the road. For a like for like replacement, diameter and the effective lever length of the arms both need to be matched.
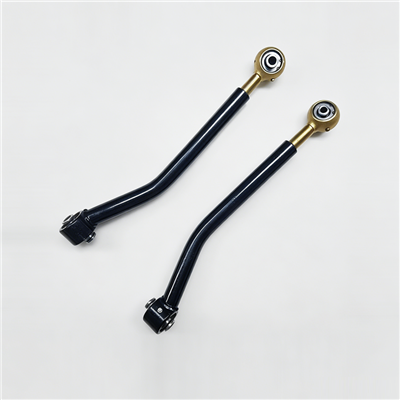
End shapes vary from a simple straight arm with a link hole, through bent arms that route around the subframe, to forged flat ends with multiple link holes. Adjustment holes let the effective arm length be changed, which alters the stiffness at the link without changing the bar. When a customer asks for an adjustable bar, confirm whether the adjustment is released for road use or intended for off road and competition applications only.
The bushings set the position of the bar and add a small amount of compliance in series with the bar. The links transfer the load and often contain a ball joint at each end. Replacing a bar without checking the bushings and links leaves two of the three interfaces unverified, and the usual result is a repeat visit for noise rather than a genuine improvement in handling.
Bonpora works to ISO or GB standards, with inspection covering bar hardness, fatigue strength, permanent deformation and surface corrosion resistance.
| Inspection item | What it verifies | Information a buyer can request |
|---|---|---|
| Bar hardness | Heat treatment was carried out to the released specification | Hardness range and the test positions on the bar |
| Fatigue strength | The finished geometry survives repeated torsional cycling | Test setup, load level and cycles completed without failure |
| Permanent deformation | The bar returns to form after being loaded above its service range | Residual set measured after the test load is removed |
| Surface corrosion resistance | The coating protects the bar in road salt conditions | Coating type, coating thickness and salt spray hours |
The sample bar that arrives with an order is the easiest thing to inspect and the least informative, because it is by definition the part the supplier wanted to show. The inspection record is what shows whether the process is under control on ordinary production. Ask for the hardness and permanent deformation results from a normal batch, not from a hand finished prototype.
Bonpora offers a 2 year or 50,000 km warranty, whichever comes first, covering fracture and excessive permanent deformation. Those two failure modes are exactly what the inspection plan is built around, which makes the warranty term credible rather than decorative.
For a claim, the useful evidence is the part number and batch, the vehicle application and mileage, photographs showing the fracture face or the set of the bar, and a note on whether the bar was fitted with its original bushings and links. Fracture surfaces are informative: a clean failure away from any radius points to a material or heat treatment question, while a failure at a formed end or a mounting point usually points to an assembly or interference problem.
| Symptom | Likely cause | Check before ordering a bar |
|---|---|---|
| Clonk over small bumps at low speed | Worn drop link ball joints or loose link nuts | Load the axle with the wheels on ramps and check link play |
| Knocking while cornering | Bar shifting laterally in worn bushings | Inspect the bushing bore and the retaining collars |
| Vehicle leans more than before | Bar cracked at a formed end, or a link has separated | Compare both sides of the bar and the link mounts |
| Steering feels vague and the car wanders | Bar or link failure combined with worn control arm bushings | Check the whole axle rather than the bar alone |
| Contact marks on the subframe or exhaust | Incorrect bar or bushing fitted, allowing excess movement | Confirm the installed bar matches the released dimensions |
On many vehicles the noise described as a stabilizer bar knock comes from the shock absorber top mount, a worn anti-roll bar bushing that has simply dried out, or a ball joint in the drop link. Replacing the bar is the most expensive of those four outcomes, so the diagnosis should rule out the other three first.
Bonpora supports customization of diameter, length, end shape and mounting points based on OEM or aftermarket requirements, and offers sample validation. A complete enquiry carries the data below, which is enough to quote and to tool a first sample.
Sample validation is the step that catches the expensive mistakes, because it confirms the arm geometry against the actual subframe and the link angle at ride height. Two details are worth settling before tooling: whether the bar is to be supplied with bushings and links as a kit, and how the part will be identified on the finished bar, since a mark applied after coating survives longer than a paper label.
Yes. Anti-roll bar, stabilizer bar, sway bar and roll bar all describe the same torsion spring mounted across an axle. The names differ by region and by vehicle manufacturer, but the function and the mounting arrangement are the same.
No. A thicker bar increases roll stiffness at that axle, which changes the balance of the vehicle and can reduce grip at the end where the stiffness is added. It also increases the load carried by the bushings, the links and the mounting points. Changes are usually best made to a released specification for the platform.
A correctly specified bar does not normally wear out in the way a bushing does, because it works within its elastic range. Failures are usually linked to a defect, to a corrosion pit that becomes a crack origin, or to an assembly problem at a mounting point. Bonpora covers fracture and excessive permanent deformation for 2 years or 50,000 km, whichever comes first.
No. A cracked spring steel bar should be replaced. Welding or straightening a spring steel bar changes its heat treatment locally and creates a new stress concentration, so a repair is not a substitute for a replacement part.
Bonpora produces stabilizer bars in solid or hollow spring steel and validates custom diameter, length, end shape and mounting point requirements against OEM or aftermarket drawings before production. Start from the stabilizer bar range, see the ball joint and support parts in the balance bar joint assembly range, match the bar with its mounting bushings, and send the application data through the contact page for a quotation and a sample plan.