sales@bonporaparts.com
0086-10-64988621
English
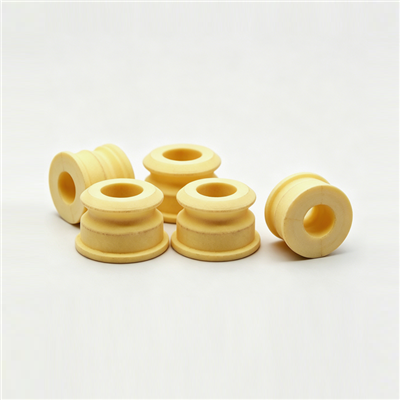
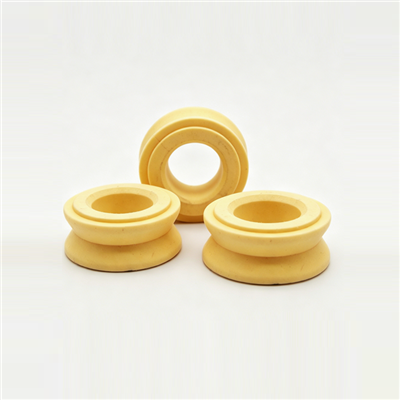
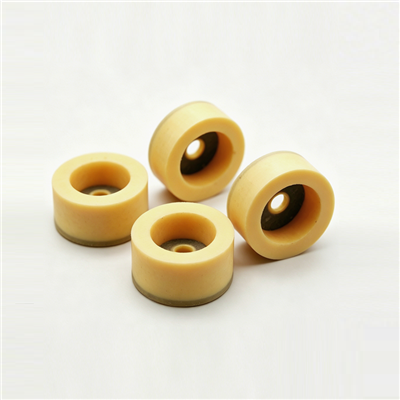
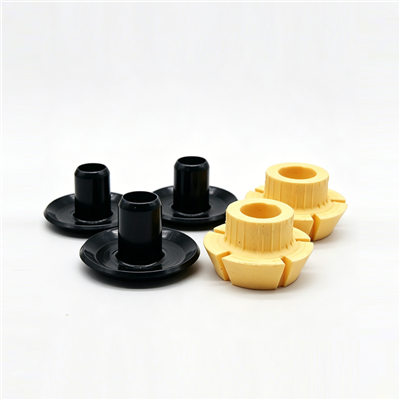
The cabin buffer described in the Bonpora source row is an elastic component, typically made from high-elasticity polyurethane, installed between the truck cab and the chassis frame. Its function matches that of a jounce bumper, also called a bump stop, bump rubber, rubber buffer or strut bumper: it provides progressive auxiliary stiffness at the end of the compression stroke, limits travel and prevents the cab from bottoming out.
In most workshops this part is invisible until it fails. The consequence is a repair that arrives as an unplanned event, often with a driver complaint about a hard knock or a rattling cab and sometimes with secondary damage to the mount. Because the part costs little relative to an hour of vehicle downtime, the case for scheduling it is straightforward.
The source row quotes a design life of not less than 80,000 km or two years under normal use, with no cracking, no excessive permanent deformation and no stiffness loss. That is a useful starting point, but it assumes normal use. A fleet should treat it as a baseline and adjust it for the duty cycle of each vehicle group.
Group the fleet first, then set the interval. Two trucks with the same cab can accumulate very different buffer wear depending on the road surfaces and the load profile they see.
| Duty band | Typical operation | Suggested interval |
|---|---|---|
| Light | Long-haul on motorways, smooth surfaces | Inspect at each major service |
| Medium | Mixed regional work, some broken surfaces | Inspect at every second service, replace on condition |
| Heavy | Construction, tipper, refuse, quarry access | Inspect quarterly, plan replacement at a set mileage |
| Severe | Off-road access, high heat, continuous load cycling | Inspect at each PM, treat as a consumable |
The intervals above are a working starting point for a fleet that has no history of its own. Once the first year of records is in hand, replace the assumptions with the actual replacement mileage for each band.
The check does not require lifting the cab, which is what makes it practical on a routine PM.
Park on level ground, let the cab settle to ride height, and look at the clearance between the buffer and the face it contacts. Compare left and right, and front and rear. A difference between the two sides of the same pair is the earliest reliable indicator of a partly collapsed buffer.
Wipe the dirt away from the visible edge and look for radial cracks, a shiny glazed band where the part has been rubbing, and any oil or fluid trace. Note what you see rather than judging from memory.
Look for play in the mount, a seized pivot, a cracked bracket or a loose fastener. Any of these will produce the same complaint as a failed buffer, so the check has to cover them at the same time.
On an air suspended cab, verify the air spring charge and the ride height. A low charge holds the cab closer to its stop and mimics a collapsed buffer closely enough to fool a quick inspection.
Five fields turn an opinion into data. Without them, the fleet never builds the history that would allow the interval to be extended or shortened with confidence.
| Field | Unit | Why it is kept |
|---|---|---|
| Date and odometer | km | Places the reading on the life curve |
| Gap left and right | mm | Shows asymmetry and collapse trend |
| Visible defects | Code or note | Tracks the dominant failure mode |
| Action taken | Pass, monitor or replace | Builds the replacement history |
| Replacement part code | Reference | Links performance to the compound supplied |
Failure replacement is driven by a driver complaint. It usually means the vehicle is already in service with a degraded mount, it often arrives during a peak period, and it frequently pulls a second part into the job because the surrounding components have been taking more load than intended.
Scheduled replacement groups the work with another planned intervention, uses the same labour window, and removes the unplanned downtime. It also makes the parts order predictable, which allows a distributor arrangement or a stock position instead of urgent single-piece buying.
Start with the severe duty group, where the failure rate is highest, and with any vehicle that has already had one buffer replaced ahead of its expected life. Those two groups give the fastest payback.
Temperature swings change both the load case and the material behaviour. In a cold climate the compound stiffens, so the buffer reaches its stop with less deflection and the cab feels harsher until the vehicle warms up. In a hot climate and on routes with long climbs, the buffers nearest the exhaust see higher temperatures and age faster than the rest of the set.
Seasonal road treatment is the other factor. Salt and grit accelerate corrosion on the metal sleeve or cup and on the mounting plate, and the corrosion can progress faster than the buffer itself. Where winter maintenance includes a chassis wash, adding the cab mount area to the wash routine keeps that corrosion in check.
Buffers are small, cheap to hold and slow to expire when stored sensibly, which makes them a good candidate for a stock position on the most common references.
| Stock class | Basis for inclusion | Planning approach |
|---|---|---|
| Fast mover | High vehicle population, frequent replacement | Hold a rolling quantity based on annual usage |
| Workshop item | Used on most PM jobs | Hold a small buffer stock at each workshop |
| Slow mover | Low population or older generation | Order on demand with an agreed lead time |
| Emergency set | Critical vehicles with no substitute | Hold a pair at the depot that operates the vehicle |
Storage matters as much as quantity. Keep the parts out of direct sunlight and away from heat sources, and store them so that they are not held compressed under stacked cartons. A part that has been deformed in storage may not recover fully before it is fitted.
After six to twelve months the fleet has enough records to replace the generic duty bands with its own figures. The calculation is simple: take the replacement mileage for each duty band, remove the highest and lowest readings as outliers, and set the inspection interval at roughly two thirds of the average life. That leaves a margin for the vehicles that wear faster than the group average, without pulling good parts off the road early.
Record the compound and the supplier on every replacement. If one compound consistently reaches a shorter life on the same duty, the data will show it, and the next order can be specified differently.
Drivers notice a change in cab behaviour long before a workshop inspection finds a defective part. A new hard knock over sharp bumps, a cab that rocks noticeably during braking, or a sudden change in the feel over expansion joints are worth reporting rather than tolerating.
Giving drivers three simple words to report, knock, rock and rattle, produces usable information without asking them to diagnose the vehicle. A knock usually points to reduced travel, a rock to a worn mount or pivot, and a rattle to a loose fixing or trapped debris. Each one sends the vehicle to the right check.
The source row quotes a design life of not less than 80,000 km or two years under normal use. Treat that as a baseline and shorten it for severe duty, high heat or a high proportion of broken surfaces, and confirm it against your own replacement records after the first year.
Yes. The gap measurement, the surface inspection and the surround check can all be done in place in a few minutes. Removal is justified when a defect is found or when a measurement is outside the expected range.
Yes where the fault affects a pair. Two buffers of different age have different stiffness, so the cab sits unevenly and one side reaches its stop first, which shortens the life of the new part.
Out of direct sunlight, away from heat, and not held compressed under stacked cartons. Store by reference with the production lot visible so that stock rotation is straightforward.
Bonpora Parts and Components supplies cabin buffers and cab mount components for Scania, MAN, DAF, Renault, Mercedes-Benz, BRG and Volvo trucks, and makes custom polyurethane parts to drawing or sample. Begin with the commercial vehicle range, read the cabin buffer selection guide and the failure analysis article, or review the installation guide. The contact page reaches the sales team for fleet quantities, and related suspension content sits under chassis and suspension components.