sales@bonporaparts.com
0086-10-64988621
English
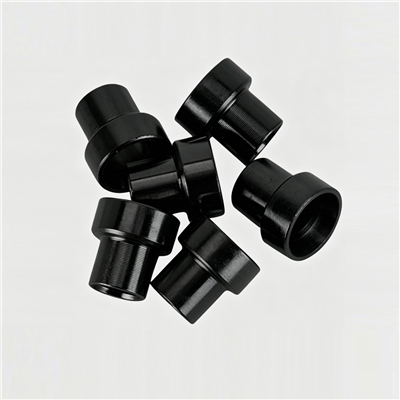
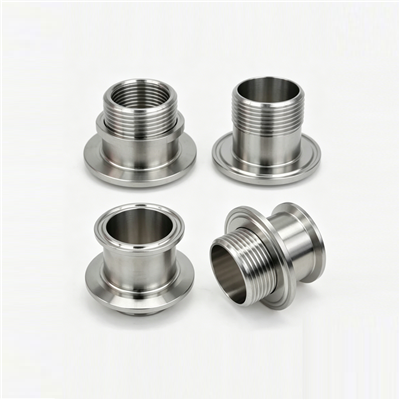
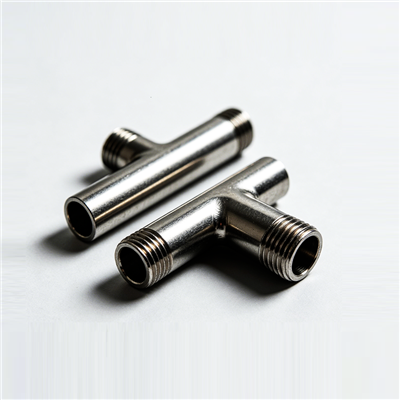
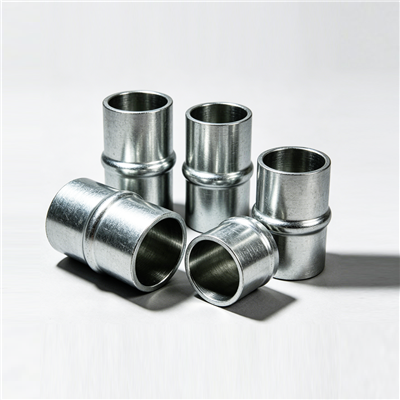
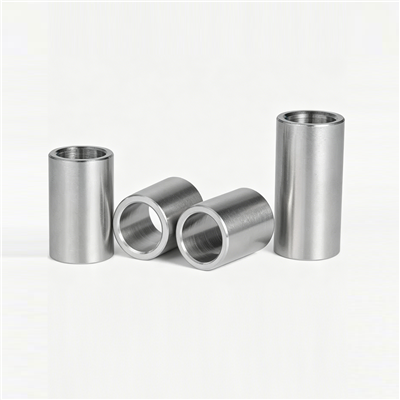
A sleeve, also supplied as a bushing or a tube, is installed inside a hole or on the exterior of a shaft type part. In fleet work they show up in three roles: at the bushing positions of moving components, where they carry radial pressure and give a low friction surface; as spacers that position adjacent components and control axial or radial clearance; and as protection sleeves lining the openings where cables, hoses and pipes pass through structure, protecting them from abrasion.
None of these items is expensive, and that is exactly why they are neglected until something else fails. A worn bushing becomes a knocking suspension, a collapsed spacer becomes a ride height or alignment complaint, and a protection sleeve that has worn through turns a panel edge into a cutting tool. The purpose of this guide is to put sleeves into the same planned maintenance rhythm as the components around them, using inspection intervals that follow how hard the vehicle works rather than a single interval applied to everything.
The first step is to accept that two identical vehicles can wear sleeves at very different rates. Banding the fleet makes inspection intervals and spares planning realistic, and the bands can be set from existing work order and route data.
| Duty band | Typical operation | Bus and bushing inspection | Passage sleeve inspection |
|---|---|---|---|
| Light | Paved routes, low payload, low annual distance | At each major service | Annually, and whenever a panel is opened |
| Medium | Mixed routes, regular load, normal road conditions | Twice between major services | At each major service |
| Severe | Construction, quarry, farm, frequent wash down, heavy load | At each service interval | At each service interval, plus after any panel repair |
| Special | Refuse, gritting, coastal or chemical exposure | At each service, with corrosion check | At each service, with corrosion check |
Mileage alone is a weak indicator for a bushing. Vehicles that spend their day turning, loading and reversing accumulate more sleeve wear per kilometre than a vehicle running straight at constant load, because the direction of the load at the bushing changes more often and the lubrication film is disturbed more frequently.
Most sleeve problems can be picked up before a workshop visit, provided the inspection looks for the right signals. A short routine carried out with the vehicle on the ground and the wheels turned covers the common locations.
Rock each wheel by hand at the top and the bottom, or use a pry bar under the tyre, and listen. A knock that repeats with small movement usually points to a worn bushing or an enlarged bore clearance rather than to a loose fastener. Compare the two sides of the same axle, because an asymmetry is more informative than an absolute judgement.
Fretting dust, bright polished tracks or rust coloured streaks around a bushing or a spacer show that movement has been happening. On a sleeve pressed into a housing, a polished band around the outside diameter means the press fit has been lost, and the part may be migrating.
Run a hand along each protected passage and feel for chafe marks, a flattened section or a groove. Check that the sleeve still protrudes past the panel edge at both sides, and that no cable is touching bare metal. A sleeve that has been pushed back into the panel is a fast route to an electrical or fluid leak fault.
Seepage at a bushing position accelerates corrosion, and corrosion in turn seizes the sleeve in its housing. Any wet or rusty area around a suspension or steering bushing deserves a note in the inspection record even when the wear is still within limits.
A walk round finds the obvious cases; measurement finds the rest, and the value of measurement depends entirely on recording it consistently. The fields below take a few minutes per location and make the next inspection far more useful than the last one.
| Recorded field | How to take it | What it is used for |
|---|---|---|
| Odometer or hour meter at inspection | Read at the time of measurement | Converts every other figure into a wear rate |
| Bore measurement in two directions | Bore gauge at the loaded flank and 90 degrees away | Separates directional wear from general enlargement |
| Shaft or pin diameter | Micrometer at the contact band | Confirms whether the counterface is also worn |
| Bushing play at the wheel or lever | Dial indicator with the load applied by hand | Gives a simple field number that can be trended |
| Witness mark position | Note or photograph | Shows whether the sleeve or the housing is moving |
| Corrosion or fretting present | Yes or no, with a short description | Triggers a material or coating change rather than a repeat replacement |
| Action taken | Refitted, replaced, scheduled, monitored | Feeds the spares plan and the interval review |
Two or three inspections at the same location produce a wear rate for that vehicle and that duty band. From that point the replacement can be planned into a service rather than discovered during one, which is the whole purpose of the exercise.
Where a sleeve is a bushing with a grease point, the interval matters less than the method. Grease until clean grease appears at the seal rather than until the gun feels heavy, because over filling can displace a seal, and grease applied to a dirty fitting pushes contamination into the clearance. Where no grease point exists, the sleeve relies on a plain bearing material or a dry film lubricant, and no amount of maintenance will change its wear rate; the correct response to repeated wear is a material change at the next replacement rather than a shorter greasing interval. Vehicles that are washed down frequently deserve a grease point review, because a water jet can strip a lubricant film faster than normal service does.
Running a sleeve to failure is defensible only where the consequence is limited to the sleeve itself. In most cases the cost of failure is carried by the parts around it: a worn bore damages the shaft or pin, a settled spacer disturbs the alignment of a whole assembly, and a protection sleeve that has worn through damages the cable or hose inside it. The decision rule below is a practical compromise between replacing too early and paying for the consequences of running too long.
| Location | Default strategy | Trigger for planned replacement |
|---|---|---|
| Safety related steering or suspension bushing | Planned replacement | Wear trend predicts the limit before the next major service |
| General suspension and linkage bushing | Planned with the surrounding part | Replace together with the bush or joint it works with |
| Spacing sleeve setting a critical gap | Replace on disassembly | Any measurement outside the specified band |
| Protection sleeve at a panel opening | Inspect and replace as needed | Groove depth approaching half of the wall thickness |
| Bushing in a low consequence, accessible location | Run to failure acceptable | Noise, play or visible damage reported by the driver |
Sleeves are the hardest parts to stock well because there are many of them and each one is cheap. A workable compromise is to stock by location rather than by part number.
Keep the sleeve together with the bush, joint or bracket it belongs to, in one bin, so that a service job pulls both items at the same time. This removes the most common cause of a repeat visit: replacing the rubber element and leaving a worn sleeve in place.
Where a location shows a predictable wear rate, the annual quantity is the number of vehicles multiplied by the replacements per year, plus a safety margin for the lead time. Where the rate is unknown, stock one replacement per vehicle at the front line and hold the balance centrally until the first full inspection cycle has been recorded.
Chamfered lead ins, retaining compounds, sealing washers and the correct pressing drivers are as important as the sleeves themselves. A service that has the sleeve but not the driver will hammer it in, and the fit will be worse than the one being replaced. Keeping the matching mounting bush for each bushing position in the same kit solves both problems at once.
Three patterns in the maintenance history are worth reviewing every quarter, because each one points to a different corrective action. A single location that consumes sleeves far faster than the rest of the fleet usually has a design or alignment problem, and the answer is a change in the drawing rather than more frequent replacement. A rise in sleeve consumption across the whole fleet usually follows a change of duty, a change of route or a change of supplier, and the first thing to check is whether the delivered parts still match the approved reference sample. Repeated corrosion related replacements at the same locations point to a material or coating decision that does not match the environment, which is also the most common finding in vehicles that see winter salt or frequent wash down. Finally, sleeves replaced during unrelated work are a warning that the inspection is happening by accident rather than by plan, because a part that is only checked when something else fails will always be replaced after it has started to damage its surroundings. Where a sleeve has already failed, the failure analysis guide sets out how to confirm the mechanism before ordering the same part again, and the selection guide covers the material and fit choices that prevent the repeat.
It depends on the duty band. Light duty vehicles can be checked at each major service, while construction, quarry, refuse and coastal fleets are worth checking at every service interval because corrosion and load both accelerate wear. Vehicles that work with frequent turning and load changes wear faster per kilometre than vehicles running at constant speed, so route data should influence the interval.
Where the sleeve protects something expensive, yes. A worn bore damages the shaft or pin, a settled spacer changes the alignment of the assembly, and a protection sleeve that has worn through damages the cable or hose inside it. Where the location is accessible and the consequence is limited to the sleeve, running to failure is a reasonable choice.
Usually because the load direction at the bushing changes more often, or because the vehicle sees more moisture and salt. Check the route, the payload and the wash down routine first, then confirm that the parts fitted match the approved sample, because a delivery that is slightly outside tolerance can look like a vehicle problem.
As a rule, yes when they work together in the same joint. The rubber or polyurethane element and the sleeve are usually at a similar point in their lives, and fitting a new element around a worn sleeve gives the new part a poor running surface. Keeping them as one kit in the store makes the pairing automatic.
Send Bonpora Parts and Components Co.,Ltd. the vehicle or machine, the location on the assembly, the measured bore and shaft dimensions and the duty conditions, and the engineering team will comment on the wear pattern and propose a material or clearance change where one is justified. Sleeves are supplied in low carbon steel, stainless steel, copper alloy and aluminium alloy, with customisation of lengths, inner and outer diameters and chamfer forms from a drawing or a sample. See the sleeve, bushing and tube range, the installation guide for fitting practice, or contact the team to set up a fleet programme.