sales@bonporaparts.com
0086-10-64988621
English
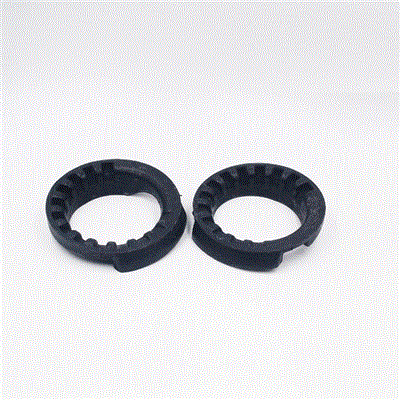
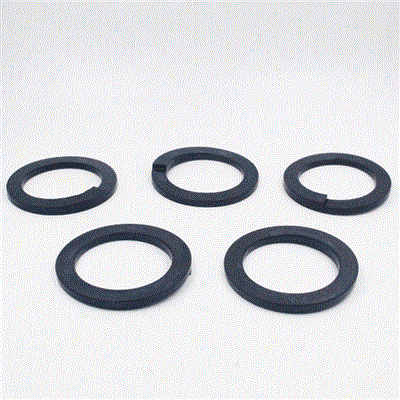
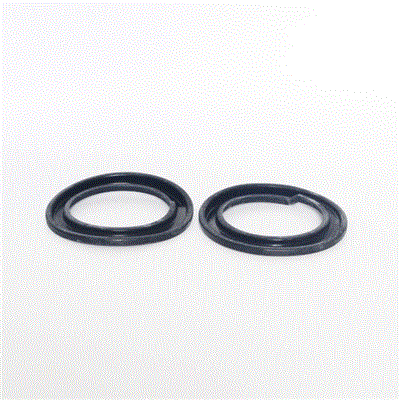
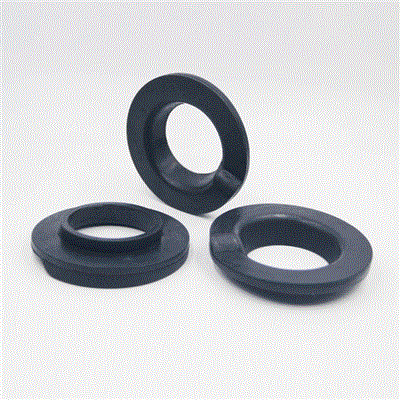
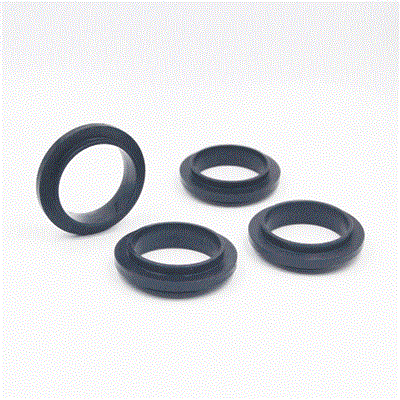
A spring seat, also called a spring isolator or a spring spacer, is located on the exterior of the shock absorber body or at the upper end of the piston rod. It positions and supports the suspension coil spring and normally stays in contact with the lower or the upper end of the spring inside the shock absorber assembly. It is made from NR, NBR, EPDM, PU, HDPE or TPE, with or without metal bonded to the elastomer.
Two functions decide how the part fails. It withstands the vertical load transmitted by the spring and transfers that load evenly into the shock absorber body or the vehicle body, and it limits lateral displacement of the spring so the coil cannot interfere with the surrounding components. A diagnosis that watches only the load path will miss the failures that begin with a worn location step rather than with a crushed rubber face.
Upper and lower seats are separate parts and are rarely interchangeable. The lower seat usually carries the flat ground end of the spring and takes the load directly; the upper seat often carries the pigtail end and holds the spring concentric with the damper rod. When a shop reports noise from one corner of the vehicle, the first question to settle is which of the two seats is being discussed, because the two positions fail for different reasons.
The seat is not a load-bearing structural member in the way a control arm is. It is a locating and load-distributing element. That is why the interesting failures are rarely sudden fractures. They are gradual changes in shape, hardness and position, and they show up first as noise and geometry drift rather than as a broken part.
Six modes cover most of the complaints that reach a counter or a service desk. Separating them before ordering a part is what keeps the first repair from being the second complaint.
| Failure mode | What is seen on the vehicle or the bench | Underlying mechanism |
|---|---|---|
| Compression set | Seat is flatter than a new part, spring sits low, contact face is polished and hard | Prolonged static load plus heat; the elastomer does not return to its original thickness |
| Fatigue and ozone cracking | Fine cracks across the loaded face, often concentrated where the spring end bears | Repeated strain cycles combined with ozone and UV attack on an unprotected surface |
| Bond failure | Elastomer separates from the metal insert; a gap or a visible rust line at the interface | Adhesive degradation after water, salt or oil reaches the interface, or overload of the bonded joint |
| Location step wear | Spring end has cut a groove, the coil can be shifted by hand, wear witness marks are off centre | Relative movement between spring end and seat under lateral load; abrasive grit trapped in the pocket |
| Corrosion of the insert | Swollen rust under the rubber, flaking coating, staining that bleeds onto the spring | Coating damage during assembly, then salt spray and road water cycling |
| Deformation from incorrect assembly | Seat is distorted, the step is elliptical, the spring end is not fully home | Spring compressed without the end located, or a seat reused after it has hardened |
Two of these modes look identical to a driver: a hardened, flattened seat and a seat that has lost its location step both produce a knock over small bumps. On the bench they are easy to tell apart with one measurement, which is why the inspection step matters more than the listening step.
| Reported symptom | Seat-related cause to check first | Confirming check |
|---|---|---|
| Knock or rattle over short, sharp bumps | Compression set, or spring end no longer held in the step | Push the coil sideways by hand with the vehicle on stands; measure step depth |
| Creak while turning the steering wheel at a stand | Dry or worn seat face, spring end rubbing directly on the seat | Listen with the spring loaded and unloaded; look for polished witness marks |
| Clunk at full rebound | Lateral location lost, spring end contacting the seat shoulder | Cycle the suspension through full droop with the wheel removed |
| One corner sits low | Collapsed seat thickness, or a spring that has also sagged | Compare seat thickness left and right before blaming the spring |
| Metallic scrape on compression | Spring walking out of position and touching the damper body | Inspect the damper body for a fresh contact mark |
| Rust staining on the spring or the mount | Insert corrosion under the bonded elastomer | Press the elastomer edge away from the insert and inspect the interface |
Most spring seats are condemned on appearance alone. A short measurement routine makes the judgement repeatable and gives the shop something to put in the job record.
Wipe the seat with a water-damp cloth and let it dry. Do not degrease the elastomer before inspection, because solvent removes the very witness marks that show where the spring end has been bearing. Photograph the part in its as-removed condition, then clean it for measurement.
| Measurement | Instrument | What it tells the technician |
|---|---|---|
| Thickness at the spring contact face | Vernier or depth gauge | Loss against the nominal figure points to compression set |
| Depth of the spring location step | Depth gauge, three positions | A step that has opened or closed lets the spring walk |
| Inner diameter of the locating bore | Vernier or inside gauge | Confirms whether the seat still centres on the damper body or rod |
| Flatness across the loaded face | Straight edge and feeler gauge | Distortion from incorrect assembly or uneven load |
| Hardness at the loaded face | Shore A durometer, if available | A reading well above the nominal compound range supports replacement |
| Condition of any bonded insert | Visual plus a light pry at the edge | Movement or a rust line at the interface means the bond has failed |
A seat that has failed usually has a companion question: is the spring still within specification? Compare free length and coil diameter against a new spring of the same reference. If the spring is out of tolerance, replacing only the seat returns the same load into a new part and the complaint comes back within a few thousand kilometres.
Bonpora lists a service life of not less than 80,000 km or 2 years for a spring seat. That figure describes a part used in normal conditions with the correct spring and the correct assembly. It is a reference for planning, not a cut-off point at which a seat must be discarded, and short-life failures almost always trace back to heat, contamination or an assembly error rather than to the material family alone.
Compression set is a loss of thickness under load, and it is accelerated by temperature. Fatigue cracking is a loss of integrity from cycling, and it is accelerated by strain amplitude and by ozone. The two behave differently in service: a part that suffers compression set changes vehicle geometry but rarely tears, while a part that suffers fatigue cracking can look almost the correct thickness and still crumble at the loaded face.
Road salt, brake fluid and engine oil are the three contaminants that appear most often in failed seats. Salt attacks any exposed metal insert and creeps along the bond line. Oil and hydraulic fluid soften many elastomers, which shows up as a swollen edge and a lower hardness reading. A seat removed from a vehicle with an active leak should be treated as a candidate for replacement even when the geometry still measures within tolerance.
Service managers get more value from a short set of rules than from a threshold table full of decimal places, because the technician has to apply them at the bench. The rules below are written for that moment.
Bonpora spring seats are produced under the IATF 16949 system, with dimensional tolerances, weld strength and coating adhesion controlled, and are covered by a 1 to 2 year or 80,000 km warranty depending on the reference. A claim is much easier to support when the job record carries the batch or date code from the seat, the measured thickness and step depth at fitting, the spring reference and its measured free length, and photographs of the failed part in place. Complaints that arrive without those four items are usually resolved as a goodwill replacement rather than as a verified material defect.
Partially. Thickness at the exposed contact face and the position of the spring end can often be inspected with the strut in place, and a witness mark can be recorded and rechecked after a short drive. Step depth and bond condition normally require the strut to be stripped, because the loaded face is not accessible.
No. A worn top mount bearing, a loose damper nut, a collapsed bump stop and a broken spring are all capable of producing a similar noise. The seat is one candidate in a short list, and the on-vehicle sequence above is designed to separate them before any part is ordered.
Only when the original design allows it. The bonded insert carries part of the location duty on many assemblies, so substituting a plain elastomer seat can change the position of the spring and the load path into the body. Match the construction of the removed part unless the vehicle manufacturer lists an equivalent.
It can. A seat that has lost thickness through compression set lowers the spring seat face, and a small change at the seat is amplified at the body. Measure the seat before condemning the spring, because a pair of flattened seats can produce the same uneven stance as a pair of sagged springs.
Bonpora supports customization of different diameters, heights and mounting hole positions based on drawings or samples, with or without a bonded metal insert. Send the measured dimensions from the removed part, the vehicle application and the spring end form, and the factory can confirm the closest reference or quote a matched part. Start from the spring seat range, compare the specification detail in the spring seat selection guide, follow the assembly sequence in the spring seat installation guide, and contact the factory through the contact page with the drawing data.