sales@bonporaparts.com
0086-10-64988621
English
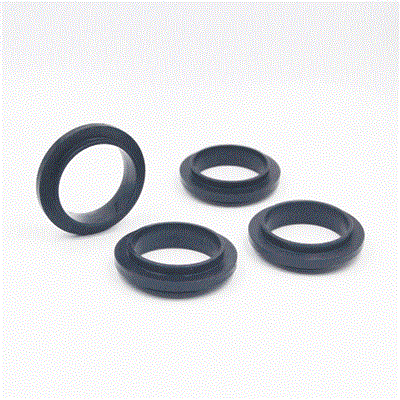
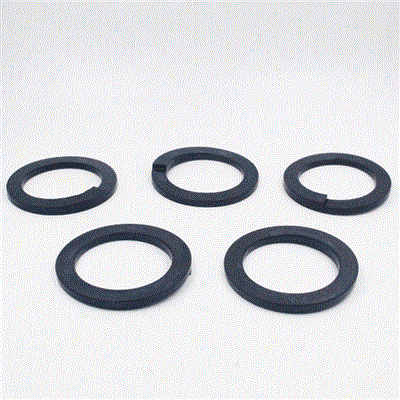
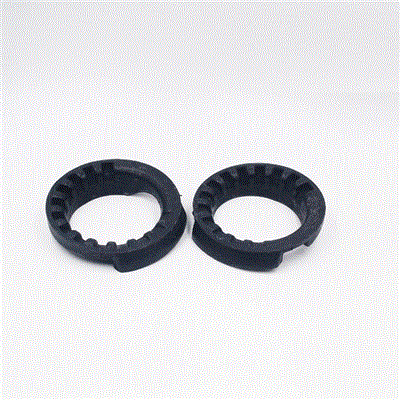
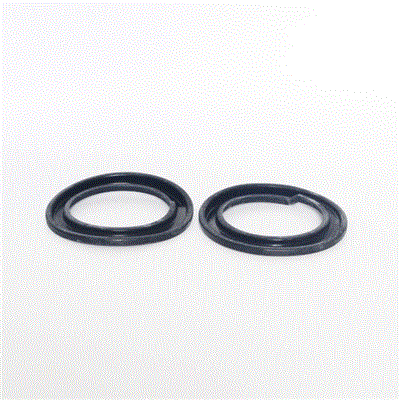
A spring seat, also called a spring isolator or spring spacer, is located on the exterior of the shock absorber body or at the upper end of the piston rod. It positions and supports the suspension coil spring, normally in contact with the lower or the upper end of the spring inside the shock absorber assembly. It is made from NR, NBR, EPDM, PU, HDPE or TPE, with or without metal bonded to it, and it withstands the vertical load transmitted by the spring while limiting lateral displacement so that the spring cannot interfere with the surrounding components.
Because the seat sits inside a compressed spring, replacing it is a job where the preparation and the sequence matter more than the part itself. This guide sets out a safe and repeatable procedure from the point the complaint is confirmed to the point the vehicle is back on the ground and checked.
Not every noise from a strut comes from the seat. Before the vehicle is lifted, separate the possibilities.
Where the strut has to come apart anyway, the seat, the bump stop, the dust cover and the top mount are usually inspected and renewed together, because the labour is already committed.
A compressed coil spring stores a large amount of energy, and more workshop injuries come from this job than from almost any other suspension task.
| Item | Purpose | Note |
|---|---|---|
| Matched spring compressor pair | Compress and release the coil spring | Rated for the spring, fitted opposite each other |
| Strut spring compressor with a safety cage | Safer alternative for high rate springs | Preferred where the workshop has one |
| Torque wrench | Strut to body, top mount nut, lower bolts | Range must cover the workshop values |
| Deep offset or pass through socket | Top mount nut on the piston rod | Allows the rod to be held while the nut is turned |
| Spring end alignment gauge or paint mark | Position the spring end on the seat | Records the original position before stripping |
| Ride height tape or gauge | Compare before and after | Measured on the ground from a fixed reference |
| Replacement single use fasteners | Strut bolts, nuts and any stretch bolts | Many are not reusable according to workshop data |
| Rubber compatible lubricant | Ease the seat onto its location | Keep petroleum grease away from natural rubber |
| Part | What to Check | Replace If |
|---|---|---|
| Spring seat | Height, cracking, contact marks, separated bond, worn location step | Compression set, cracking or bond damage is visible |
| Coil spring | Corrosion, broken end coil, loss of free length | Free length or the end coil is out of specification |
| Bump stop | Crumpled, hardened, missing or detached | The internal stop is degraded |
| Dust cover or boot | Splits, hardening, missing bands | The cover no longer seals the rod |
| Top mount | Rubber cracking, bearing roughness when turned | The bearing drags or the rubber has failed |
| Piston rod | Scoring, corrosion, oil mist on the rod | The rod is damaged or the damper is leaking |
| Fastener | What to Confirm |
|---|---|
| Top mount nut | Torqued with the piston rod held so the rod is not rotated or scored |
| Strut to body nuts | Torqued to the workshop value, with any stretch bolts renewed |
| Lower mounting bolts | Torqued with the suspension at its normal running position where specified |
| Drop link | Torqued with an Allen key or counter hold so the ball joint is not twisted |
| Brake hose and sensor brackets | Refitted with no strain across the full steering and suspension travel |
| Wheel bolts | Torqued in a cross pattern after the vehicle is lowered |
Where the workshop data specifies that the suspension must be at ride height before a bolt is finally tightened, support the hub at that position or lower the vehicle onto its wheels first. Tightening while the suspension hangs loads elastomer parts elsewhere in the assembly before the vehicle has moved.
| Error | Consequence | Correct Approach |
|---|---|---|
| Spring end not seated against the stop | Spring creeps round and contacts the body | Align the end to the location step and the pre strip mark |
| Upper and lower seats interchanged | Ride height wrong, spring misaligned | Identify each seat before assembly |
| Old seat reused with a new spring | Compression set and a changed ride height | Renew the seat whenever the strut is apart |
| Compressors tightened one side at a time | Spring bent and released unevenly | Tighten in small alternating steps |
| Piston rod rotated or scored during tightening | Damper seal failure and an oil leak | Hold the rod with the correct tool |
| Fastener reused where it is single use | Loss of clamp load | Renew stretch bolts and lock nuts |
| No ride height comparison | Assembly error not detected | Measure before and after on the ground |
| No road test on the original route | Missed location or mount problems | Drive the same surface that produced the complaint |
No. The seat sits inside the compressed spring, so the spring has to be compressed and the strut dismantled to reach it. This is why the parts around the seat, such as the bump stop, the dust cover and the top mount, are normally inspected and renewed at the same time rather than being left for a second strip down.
Yes, provided the springs themselves are within specification. Check the free length, the condition of the end coils and the corrosion on the wire. A spring that has sagged or lost an end coil will not give the correct ride height even with a new seat, and the two should be assessed together.
Where both sides have covered similar mileage, replacing them together is the usual recommendation, because a new seat on one side and a compressed one on the other produces a measurable difference in ride height and load sharing. A single side replacement is reasonable where the failure was caused by local damage.
The usual causes are a spring end that is not located against the stop, an upper and lower seat fitted the wrong way round, a seat that has not been driven fully onto its location, or a spring that was already sagging before the work. Measuring ride height at the same reference points before and after the job identifies which of these applies. Details of the parts concerned are on the spring seat page.
Bonpora Parts supplies spring seats, spring isolators and spring spacers in NR, NBR, EPDM, PU, HDPE and TPE, with or without a bonded metal insert, moulded to the diameter, height, spring end location and mounting hole positions shown on your drawing. Quality management to IATF 16949 controls dimensional tolerances, weld strength and coating adhesion, and a declared service life of no less than 80,000 km or two years is supported by a one to two year or 80,000 km warranty. Begin with the spring seat range, review the matching dust covers and shock absorber parts, or contact our team with your specification and annual volume. New dimensions are quoted from drawings or samples under custom moulded and bonded parts, the wider programme is described under chassis and suspension, and further references are listed on the products page.